Applying a nano-ceramic guard layer to car paintwork requires meticulous lighting and precise wipe-off timing. When excess liquid formula remains on the panel past its flashing window, executing a safe ceramic coating high spots removal procedure becomes essential to restore a flawless finish. In regional Australian workshops across Armidale and northern New South Wales, sudden changes in ambient heat and humidity can speed up carrier solvent evaporation, catching detailers off guard. Understanding how to diagnose, chemical-level. Or mechanically polish away cured high spots ensures vehicle owners rectify application streaks without causing irreversible paintwork damage.
ceramic coating high spots removal is the fix process of leveling excess, improperly wiped liquid coating that has flashed into uneven, dark oily streaks. Depending on cure stage, high spots are resolved via immediate solvent re-activation, light chemical cleaners. Or precision fine-cut machine buffing followed by coating re-application.
- What Causes Ceramic Coating High Spots: The Flashing Science.
- How to Spot High Spots: Multi-Spectrum check Lighting.
- The Three Curing Stages of High Spots: Fresh, Tacky. And Fully Cured.
- Immediate Removal Method: Wet Coating Re-Activation Technique.
- Chemical Leveling Within 24 Hours: Solvents and Prep Sprays.
- Mechanical buffing for Cured High Spots: Machine Pad Selection.
- Comparison Table: High Spot Removal Techniques by Cure Window.
- The 7-Step Precision High Spot buffing and Recoating Checklist.
- Safe Work Australia Guidelines: buffing and Chemical Dust Safety.
- Preventing Future High Spots: Two-Towel Buffing Protocols.
- People Also Ask About ceramic coating high spots removal.
- Frequently Asked Questions on High Spot Correction.
- Conclusion: Restoring Flawless Clarity to Your Paintwork.
What Causes Ceramic Coating High Spots: The Flashing Science.
To understand why high spots occur, one must understand how ceramic formulas bond with car clear coats. Ceramic coatings consist of active silicon dioxide (SiO2) or silica resin resins dissolved in volatile organic carrier solvents.
When applied to paintwork with an applicator block, the liquid spreads across the surface in a tiny film. Within thirty seconds to three minutes, the carrier solvents begin evaporating. a phase detailers refer to as "flashing."
During flashing, the surface appearance changes, developing an iridescent rainbow shimmer or sweating into tiny beads of resin. At this exact moment, the excess unbonded carrier and resin must be wiped off with clean microfibre towels.
If the pro misses a section. such as around door handles, panel edges. Or body crease lines. the excess resin begins cross-linking with oxygen. As it cures, this surplus resin hardens into an uneven, thick ridge.
Because the coating is thicker in that spot, it bends light unevenly. This creates a noticeable dark patch, oily smear. Or cloudy streak that stands out against the surrounding leveled paintwork.
Resolving this issue requires expert intervention. Booking pro flawless ceramic coating correction ensures high spots are leveled safely without burning through factory clear coat.
How to Spot High Spots: Multi-Spectrum check Lighting.
One of the most frustrating aspects of ceramic coating high spots is their chameleon-like ability to hide under standard workshop fluorescent tube lighting. Diffused overhead shop lights flood panels with uniform glare, washing out subtle variations in coating thickness.
pro detailers rely on handheld and tripod-mounted multi-spectrum LED check lights. These specialised lights offer adjustable colour heats, ranging from 2700K warm yellow to 6500K cool daylight.
Warm 2700K lighting is particularly effective for revealing high spots on lighter paint colours like silver, white. And champagne gold. Cool 6500K daylight highlights streaks on dark finishes such as gloss black, navy blue. And deep burgundy.
pros move the light source across the panel at oblique angles, holding the beam thirty to forty-five degrees from the surface. This side-lighting creates shadows along the edges of the high spot ridge, making the flaw at once visible.
Detailers also pull the vehicle outdoors into direct sunlight and shaded overcast light. Natural sunlight exposes iridescent rainbow high spots that artificial lighting occasionally misses.
The Three Curing Stages of High Spots: Fresh, Tacky. And Fully Cured.
The method chosen for high spot remediation depends entirely on how much time has elapsed since the coating was applied. Detailers categorise high spots into three distinct curing phases.
The first phase is the "Fresh Window," occurring within five to twenty minutes of initial application. In this stage, the resin has flashed but carrier solvents have not fully evaporated. The coating remains receptive to chemical re-dissolution.
The second phase is the "Tacky Semi-Cured Window," occurring between thirty minutes and twelve hours post-application. Here, the silica resin polymers have begun cross-linking. The resin is sticky, rubbery. And highly resistant to plain dry towel wiping.
The third phase is the "Fully Cured Window," which sets in after twenty-four to forty-eight hours. At this point, the ceramic coating has achieved ninety percent of its ultimate pencil hardness. The high spot has transformed into an inorganic glass-like crystalline layer.
Understanding which curing phase you are dealing with determines whether you can fix the flaw with a simple wipe or if machine cutting is mandatory.
Immediate Removal Method: Wet Coating Re-Activation Technique.
If you catch a high spot within the first ten to fifteen minutes of application, the remedy is fast, elegant. And non-abrasive. Detailers use a technique known as "wet coating re-activation."
Like dissolves like. Because fresh ceramic coating contains powerful solvent carriers, adding fresh liquid coating over the high spot instantly re-liquefies the semi-hardened resin beneath.
Apply two drops of fresh liquid ceramic coating directly onto your foam applicator suede. Lightly wipe the fresh coating over the high spot using gentle cross-hatch strokes for five to ten seconds.
The fresh solvents dissolve the high spot ridge at once, blending it back into a uniform liquid film. Without hesitation, grab a fresh, low-nap microfibre towel and buff the entire area flat.
Follow at once with a second plush buffing towel to remove all residual carrier oils. Inspect the panel with your check light to confirm the streak has completely vanished.
Chemical Leveling Within 24 Hours: Solvents and Prep Sprays.
When a high spot is discovered between one and twenty-four hours after application, wet re-activation with fresh coating is no longer effective. The resin has cross-linked too deeply for mild carrier solvents to penetrate.
However, the coating has not yet reached its full chemical resistance. In this intermediate window, specialized chemical leveling solvents or strong panel prep sprays can soften the high spot ridge.
Spray an isopropyl alcohol (IPA) blend or specialized mineral spirit panel wipe directly onto a clean microfibre towel. Firmly massage the high spot using small circular motions, applying moderate finger pressure.
The solvent helps shear off the unbonded top layer of the high spot. In some cases, a mild non-abrasive chemical paint cleanser applied by hand with a foam applicator can level the streak without abrading surrounding clear coat.
Once leveled, wipe the area clean with a dry towel. Reapply a light coat of ceramic formula to ensure uniform guard thickness across the panel.
Mechanical buffing for Cured High Spots: Machine Pad Selection.
Once a ceramic coating has cured past forty-eight hours, chemical remedies are completely ineffective. The inorganic SiO2 or silica resin crystal lattice is chemically impervious to alcohols, soaps. And solvents.
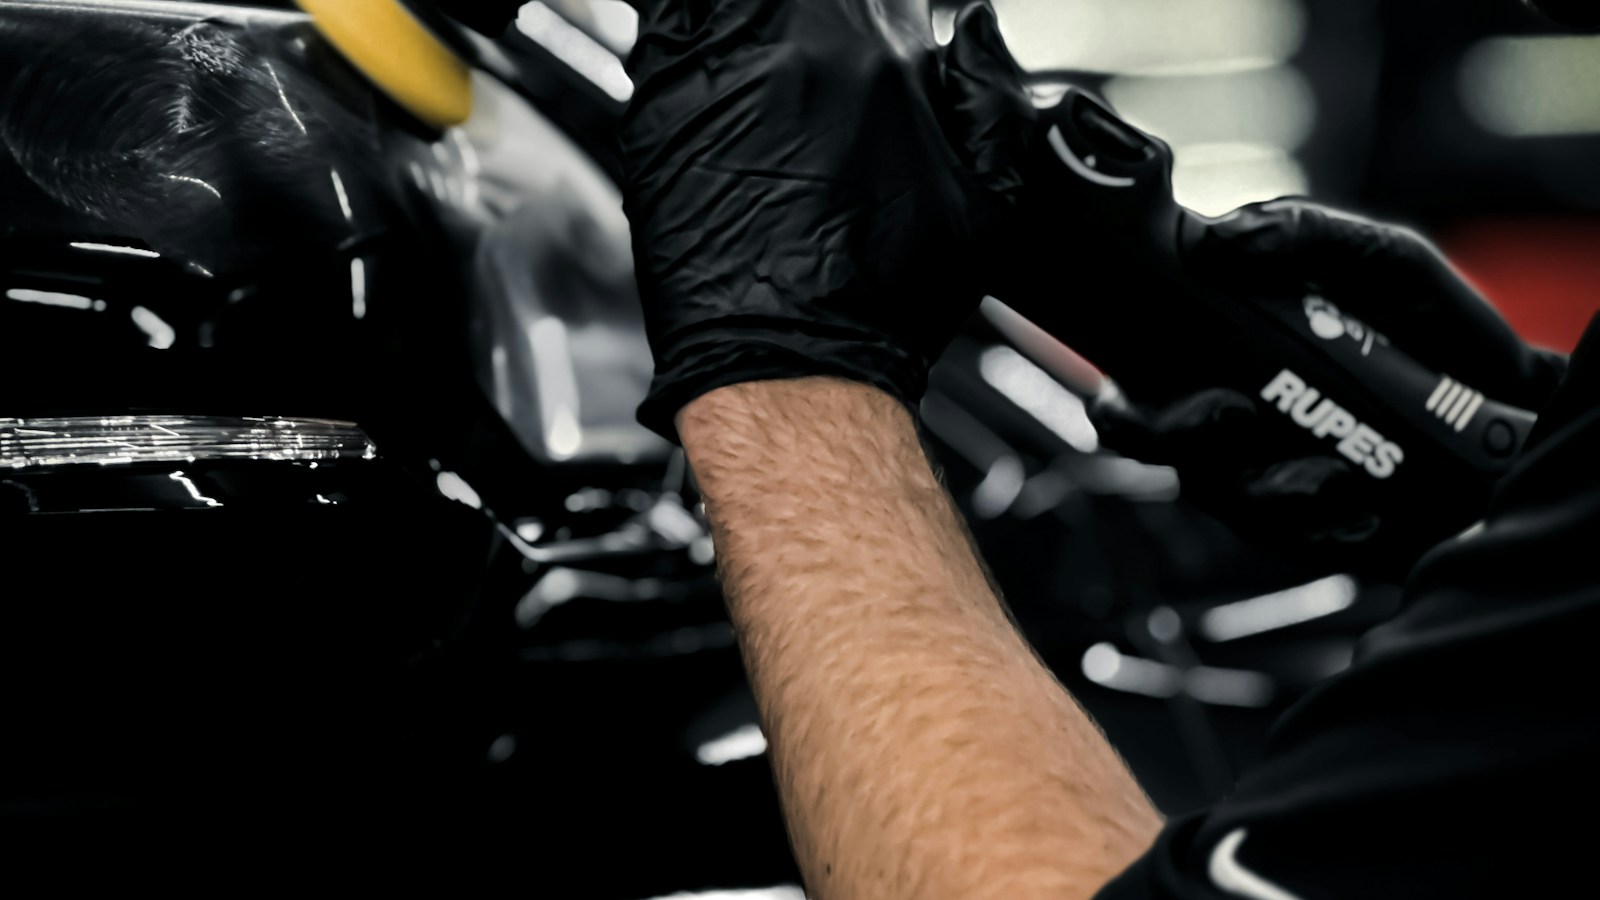
The only way to remove a fully cured high spot is mechanical abrasion. Detailers use a dual-action polisher paired with a fine finishing foam pad and a micro-fine finishing polish.
The objective is precision spot correction: shaving away the high spot ridge without stripping the entire panel down to bare clear coat. Detailers tape off surrounding trim and focus the machine pad directly over the defect.
Run the machine on medium speed (speed setting 3 to 4) using light downward pressure. Make two to three slow overlapping passes, then wipe away buffing residue with an isopropyl alcohol wipe.
Inspect under multi-spectrum lighting. If the streak is gone, stop buffing at once. Cleanse the panel thoroughly to remove all buffing lubricants, then reapply the ceramic coating to restore full protection.
Comparison Table: High Spot Removal Techniques by Cure Window.
Selecting the correct remediation method based on curing timeframe is summarized below:
| Elapsed Time. | Coating State. | Recommended Removal Technique. | Clear Coat Impact. |
|---|---|---|---|
| 0 to 20 Minutes. | Fresh flashing liquid. | Wet coating re-activation & immediate dual-towel buff. | Zero abrasion, 100% safe. |
| 1 to 12 Hours. | Tacky, semi-cured resin. | Chemical leveling solvent wipe or light hand cleanser. | Zero abrasion, preserves coating. |
| 12 to 24 Hours. | Hardened cross-linking matrix. | Hand micro-abrasive polish or ultra-fine finishing pad. | Minimal clear coat removal (< 0.2 micron). |
| 24 to 48+ Hours. | Fully cured 9H glass shell. | Dual-action machine buffing with fine-cut compound. | Removes high spot and requires recoating. |
| 7+ Days Cured. | Maximum hardness achieved. | Medium machine cutting followed by finishing polish. | Strip panel section and apply fresh coating. |
The 7-Step Precision High Spot buffing and Recoating Checklist.
When mechanical machine correction is required, follow this precise sequence to avoid damaging factory paintwork:
- Isolate and Mask Adjacent Edges: Place low-tack car masking tape over body lines, plastic badges. And rubber seals within thirty centimetres of the defect.
- Multi-Spectrum Lighting Setup: Position an check light at a forty-five degree angle to maintain continuous visual tracking of the high spot ridge.
- Select Ultra-Fine buffing Media: Mount a soft finishing foam pad onto a dual-action polisher and apply three pea-sized drops of diminishing abrasive finishing polish.
- Controlled Low-Speed Machine Passes: Work the polisher at speed setting 3 in slow, overlapping cross-hatch passes for twenty to thirty seconds with featherlight pressure.
- Residue Wipe and Optical Audit: Wipe off buffing oils using a plush microfibre cloth and inspect under both 2700K warm and 6500K cool light to verify the ridge is completely gone.
- Solvent Degreasing Wipe: Saturate a fresh microfibre towel with an isopropyl alcohol panel wipe and degrease the area thoroughly to remove all buffing lubricants.
- Spot Recoating and Buffing: Apply a fresh layer of ceramic coating across the corrected section, extending slightly into the surrounding panel. And buff level within the recommended flash window.
Safe Work Australia Guidelines: buffing and Chemical Dust Safety.
fix machine buffing and chemical leveling produce airborne dust dust and solvent emissions. pro detailing studios implement rigorous safety controls in compliance with Safe Work Australia codes of practice.
When cutting cured ceramic coatings, tiny particles of abrasive aluminium oxide and crystalline silica become airborne. pros wear P2-rated dust respirators to prevent inhalation of respirable dust bits.
During the solvent cleaning phase, pros use nitrile chemical-resistant gloves to protect skin from hydrocarbon solvents and isopropyl alcohol. Solvents strip natural skin oils, causing contact dermatitis upon repeated exposure.
Studios maintain active ventilation systems to keep workplace exposure standards for airborne solvents well below legal limits. Eye protection complying with AS/NZS 1337.1 shields eyes from pad splatter and flying compound sling.
Preventing Future High Spots: Two-Towel Buffing Protocols.
The golden rule of ceramic coating is prevention. pro detailers avoid high spots entirely by adopting a disciplined "Two-Towel Buffing Protocol."
Never rely on a single microfibre towel to wipe off ceramic coating. As you wipe a panel, your towel quickly loads up with liquid resin and carrier solvents. Once saturated, that towel stops removing coating and begins smearing it across adjacent panels.
Detailers designate Towel One as the "Leveling Towel". typically a low-nap 300 GSM pearl-weave microfibre. Towel One takes off eighty-five percent of the flashed coating in straight, gentle passes.
Towel Two is the "Buffing Towel". an ultra-plush 500 GSM edgeless microfibre. The pro follows at once behind Towel One, using Towel Two with light pressure to buff the surface to a mirror finish.
Furthermore, detailers work in small, manageable sections measuring no more than sixty by sixty centimetres. Trying to coat an entire bonnet before wiping off almost bonds cured high spots.
pro detailers also consult NSW space Protection Authority chemical guidelines to ensure all workshop procedures meet regional safety codes.
People Also Ask About ceramic coating high spots removal.
Will ceramic coating high spots go away on their own?.
No, ceramic coating high spots will not disappear on their own. Once the carrier solvents evaporate and the liquid resin cross-links with oxygen, the high spot hardens into an inorganic glass-like ridge that requires physical or chemical removal.
Can you polish off ceramic coating high spots by hand?.
Within the first twelve to twenty-four hours, mild high spots can often be leveled by hand using an ultra-fine finishing polish or chemical cleaner on a microfibre applicator. After forty-eight hours, machine buffing is generally required.
Does removing a high spot damage my car's clear coat?.
When performed correctly with a dual-action polisher and fine finishing polish, high spot removal removes less than one micron of clear coat. well within safe factory tolerances. Heavy rotary cutting or aggressive wet sanding poses greater risks if done incorrectly.
Why do high spots look like oil slicks or rainbow streaks?.
High spots appear rainbow-coloured or iridescent because the uneven ridge of cured ceramic coating bends incoming light at varying angles, creating a prism-like light scattering effect known as thin-film interference.
Frequently Asked Questions on High Spot Correction.
How can I tell if a streak is a high spot or a scratch?.
A high spot is raised above the paint surface and typically looks like a dark smudge, grease smear. Or rainbow reflection that changes appearance with lighting angles. A scratch is an incision into the clear coat that catches a fingernail when dragged across it.
Can I just apply more ceramic coating over a cured high spot to hide it?.
No, applying fresh coating over a cured high spot will only amplify the defect. Ceramic coatings are optically clear. adding more layers will trap the dark streak beneath an even thicker shell of cured glass.
What is the best lighting to find high spots on white cars?.
Warm-spectrum LED lighting around 2700K to 3000K held at an oblique angle is the most effective for revealing high spots on white, silver. And light grey vehicles. Cool white light often washes out defects on pale paint.
Do high spots void my ceramic coating bond?.
When applied by a certified pro studio, high spots are covered under the initial job check bond and corrected free of charge. On DIY jobs, bonds do not cover application errors.
Can clay bars remove cured ceramic coating high spots?.
No, clay bars are designed to shear off soft surface contaminants like tree sap and overspray. Cured ceramic coatings are chemically bonded and far too hard to be leveled by clay bars without causing severe marring.
Best Shop Habits to Stop High Spots Before They Start.
Good lighting is the key to a clean job. Set up bright lights at low angles along the side of the car. Low lights show every wet streak right away.
Work on small areas of the paint at a time. Coat one half of a door, then wipe it flat. Do not rush ahead to the next panel until the first one is clear and smooth.
Use two clean towels for every panel. The first towel picks up the bulk liquid. The second towel buffs the panel to a crystal shine.
Check the paint from three different view spots. Step back, bend down. And look across the panel. Catching a streak in the first ten minutes saves hours of rework.
Take your time on each panel. Look close at every ridge. A clean wipe makes the paint gleam.
Drive safe on dirt roads. Love your car every day. Clean paint lasts for years. Strong sun won't hurt the clear coat. Heavy rain slips right off the glass. Thick mud can't stick to slick panels. Wash day is quick and fun. Rims stay bright in the sun. Safe work pays off every time.
Managing Coating Flash Times in Changing Country Weather.
Armidale weather changes fast between warm sun and cool mountain breeze. Sudden drops in room heat slow down solvent flash times.
When the air is cool, wait an extra minute before wiping. When the air is hot and dry, wipe down the paint faster to avoid tacky drag.
Watch the surface closely for tiny oil beads. When the rainbow sheen turns to small beads, buff the panel flat without delay.
Calm hands win the day. Good eye checks stop streaks. Your car gets a slick glass coat that lasts for years.
Rinse dirt with fresh water. Use soft towels. Dry panels with no streaks. Fast work brings peace of mind.
Conclusion: Restoring Flawless Clarity to Your Paintwork.
Ceramic coating high spots can be deeply disheartening after hours of meticulous detailing. But they are completely resolvable when approached with the correct technical method.
By identifying high spots early and selecting the appropriate remediation technique. from wet re-activation within minutes to precision dual-action machine buffing after full cure. you can eliminate streaks without harming your vehicle's factory clear coat.
Whether you are correcting a DIY mishap or refining a pro job in Armidale, disciplined check lighting and controlled buffing techniques ensure your vehicle emerges with flawless, crystal-clear surface protection.