finding a sharp scratch across a vehicle door or wing is a frustrating sight for any driver. When addressing unsightly paint scratches, knowing proper clear coat scratch repair is essential to level the surface without burning through soft factory paint.Many scratches are purely surface blemishes in the transparent clear coat. However, deeper gouges penetrate through to the primer or bare steel.In regional areas such as Armidale and the New England Tablelands. This gravel backroads, roadside brush. Also, harsh sunlight punish exterior surfaces, knowing how to diagnose, wet-sand, and polish clear coat marks safely keeps vehicles looking pristine.
Clear coat scratch repair is a precision car restoration technique that levels tiny ridges around clear coat grooves using ultra-fine wet sanding and compound machine polishing. By shaving a minute fraction of clear coat around the scratch, this method permanently removes surface defects while preserving original colour base coats.
- Diagnosing Paint Scratch Depths: The Fingernail Test
- knowing Modern car Clear Coat Layers
- Armidale Regional Driving Hazards and Scratch Causes
- Clear Coat Repair Boundaries: Polishing vs Respraying
- Paint Depth Gauge Testing Before Machine Polishing
- Precision Wet Sanding Protocols for Clear Coat Scratches
- Machine Compounding and Scratch Leveling Passes
- Fine Polishing and Optical Gloss Restoration
- Machine Selection: Rotary vs Dual Action on Scratches
- Pad and gritty Pairings for Safe Defect Removal
- Edge and Swage Line Safety During Scratch Leveling
- Scratch Repair Method Comparison: Pen vs Polish vs Wet Sanding
- The 10-Point Clear Coat Scratch Repair Checklist
- Sealing Repaired Paintwork with Ceramic Protection
- Workplace Safety and Environmental Workshop Rules
- People Also Ask About Clear Coat Scratch Repair
- Frequently Asked Questions on Scratch Removal
- Conclusion: Restoring Flawless Clear Coat Reflections
Diagnosing Paint Scratch Depths: The Fingernail Test
Before grabbing a bottle of polish or sandpaper, you must determine scratch depth. Modern car paint consists of primer, colour base coat, and top clear coat. The clear coat provides UV shielding and gloss.
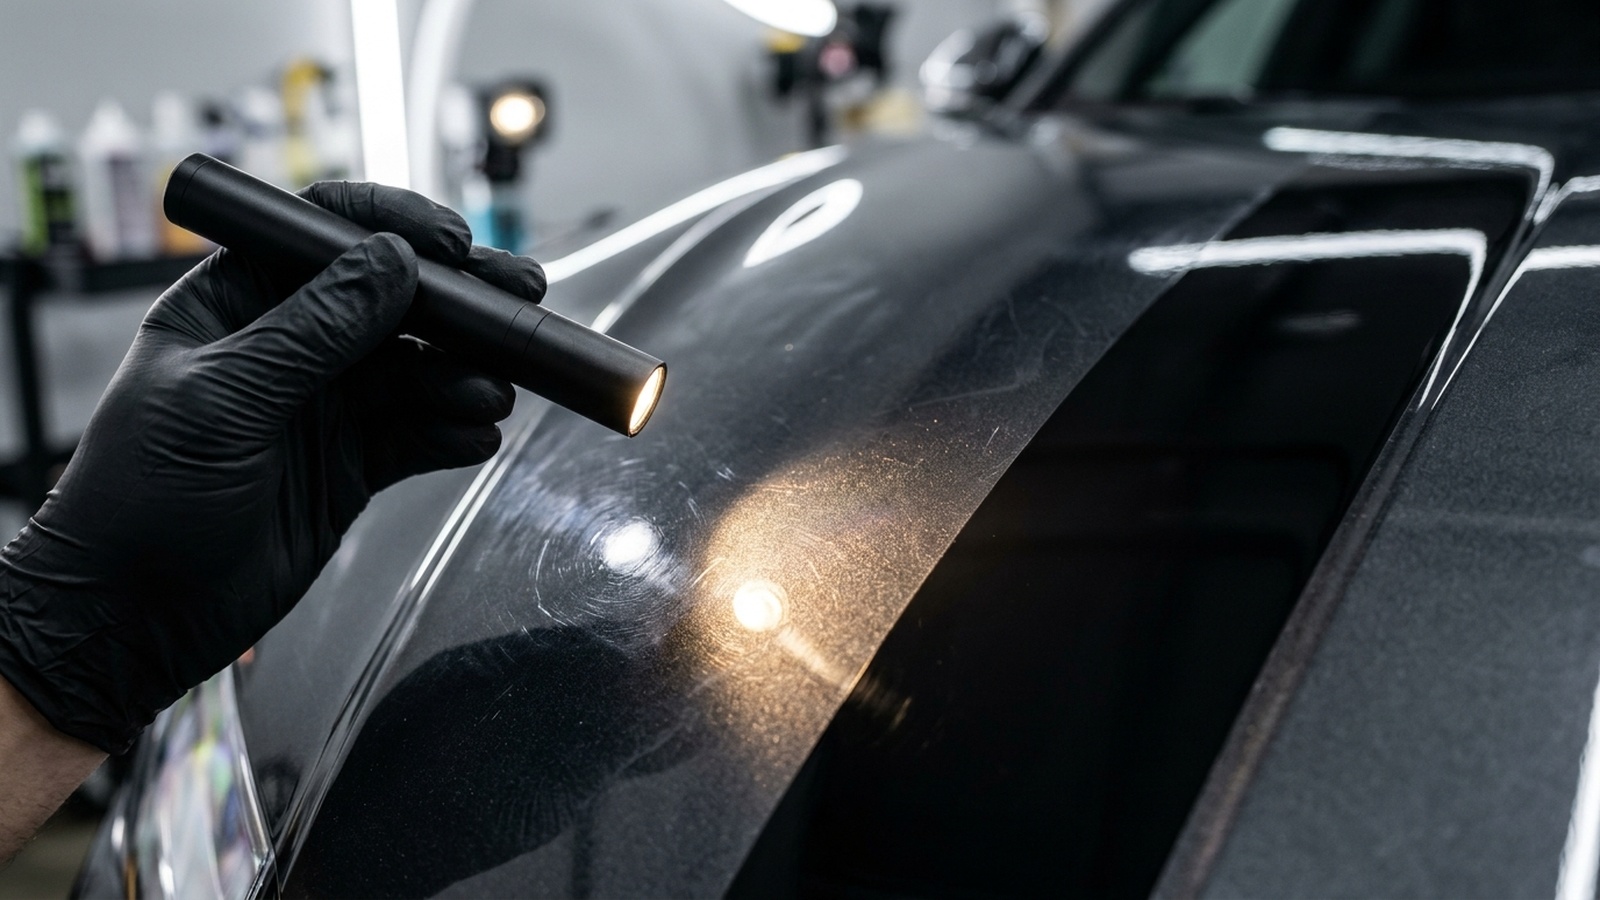
The simplest depth test tool is your fingernail. Gently glide your clean fingernail across the scratch. If your nail glides smoothly over the mark without catching, the scratch lives solely in the upper clear coat. These shallow marks can be polished away easily.
If your fingernail distinctly catches in the groove, the scratch has penetrated deeper. If you see white or grey primer in the bottom of the scratch, polishing alone cannot fix it. That scratch needs colour touch-up paint before any wet sanding can level the surface.
Another reliable depth test test is the water test. Spray clean water over the scratch. If the mark temporarily disappears while wet, the clear coat still covers the colour base. In that scenario, pro polishing can usually level the defect completely.
If the scratch remains starkly visible even under water, it has cut through the clear coat entirely. Knowing this difference prevents vehicle owners from needlessly sanding away valuable shielding paint on irreparable deep gouges.
knowing Modern car Clear Coat Layers
Factory car clear coat is remarkably thin. On most modern passenger vehicles, the entire paint system measures between 100 and 140 microns thick. The shielding clear coat makes up just 35 to 50 microns of that total.
To put that in perspective, a standard sheet of copy paper is about 100 microns thick. That means your factory clear coat is less than half the thickness of paper. Clear coat contains UV absorbers that protect the coloured base coat beneath from solar damage.
Every time you machine compound or wet-sand paint, you remove clear coat permanently. Safe repair processes remove only one to three microns of clear coat. Preserving at least 80% of original clear coat thickness is vital so panels do not suffer clear coat failure under hot Australian sunlight.
The upper twelve microns of factory clear coat contain the highest level of UV inhibitors. If aggressive compounding strips too much clear coat, the remaining layer degrades quickly, leading to premature peeling, chalking, and cloudiness.
Modern waterborne colour coats beneath the clear coat have no UV shields of their own. They rely entirely on the transparent polyurethane or acrylic clear coat above to shield them from fading, bleaching, and chemical oxidation.
Armidale Regional Driving Hazards and Scratch Causes
Vehicles driven in Armidale and across the New England Tablelands face unique hazards. Country roads feature coarse basalt gravel and unsealed shoulders. When oncoming trucks pass, airborne gravel pelts vehicle side panels, leaving stone rash and scratches.
Rural driving also brings contact with overgrown roadside shrubs. Stiff wattle branches and gum tree twigs drag along doors, leaving long linear pin-stripes. In town, winter frosts coat cars in gritty ice crystals. When drivers use stiff snow brushes or plastic scrapers, they often drag dirt across paint, creating deep surface gouges.
also, parking under native gum tree and pine trees drops hard sap cones and acidic gum. When vehicle owners try to pick off hardened sap with fingernails or rough scrubbers, they pull clear coat away with the sap. Safe scratch repair removes these marks without thinning factory paint excessively.
Livestock trucks carrying cattle and sheep frequently drop fine gritty organic waste along regional highways such as the New England Highway. When combined with road grime, this grit forms an gritty film that scratches paint during improper hand washing.
Dust storms during dry summer months also blow fine granite silt across vehicle panels. Wiping dusty panels with a dry rag acts like fine sandpaper, scouring circular scratch patterns into the clear coat of parked utes and family wagons.
Clear Coat Repair Boundaries: Polishing vs Respraying
Setting realistic boundaries is vital before undertaking paint restoration. Machine polishing levels clear coat ridges, making light scratches disappear. But polishing cannot fill voids where paint is physically missing.
Polishing can repair light fingernail scratches around door handle cups. It removes branch rub marks and bush pin-striping that do not catch a fingernail. It clears away swirl webs caused by automatic car wash brushes. It also restores dull clear coat oxidation from high sun exposure and surface shopping trolley rub marks that did not dent the panel.
However, polishing cannot repair key scratches that reveal grey primer or bare steel. It cannot fix deep stone chips where paint has flaked away. It cannot repair peeling clear coat where the clear layer has detached from the base coat, nor can it mend deep dent creases with fractured paint.
Attempting to polish away primer-deep gouges will only burn through remaining clear coat. Those defects require car respraying at an authorised panel shop or carefully applied colour touch-up paint followed by micro wet-sanding.
pro detailers educate vehicle owners on these structural limits. A great detailer will often recommend rounding off the sharp white edge of a deep scratch to make it 80% less noticeable, rather than grinding away paint to make it completely invisible.
Paint Depth Gauge Testing Before Machine Polishing
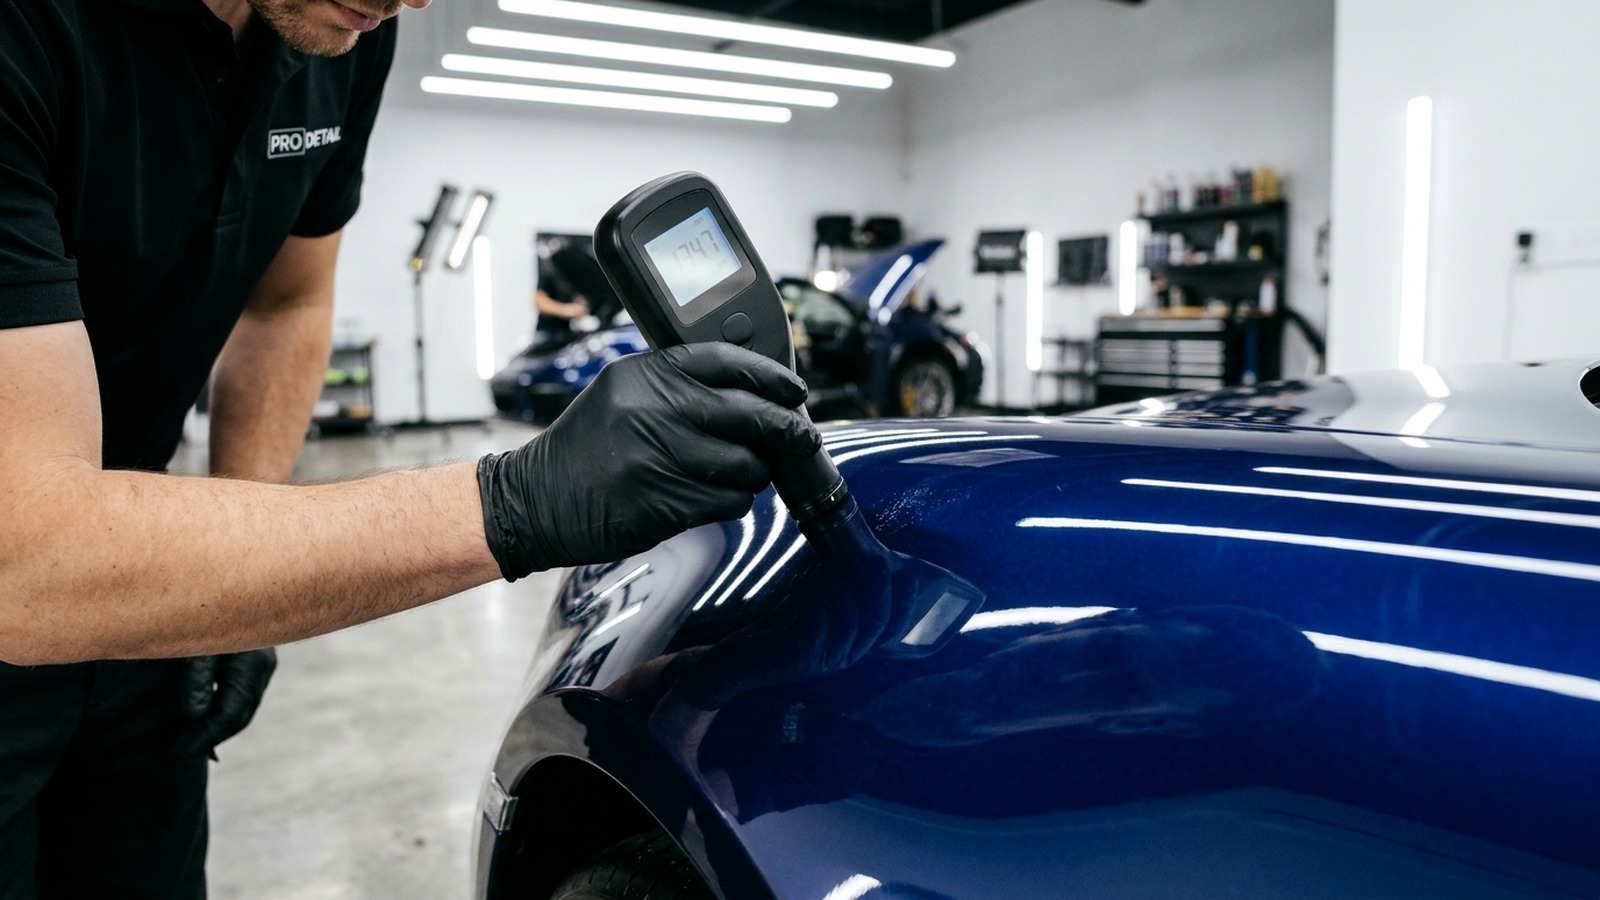
pro detailers never begin wet sanding without taking baseline paint readings. detailers use digital digital or digital paint depth gauges across every panel.
A paint depth gauge measures total coating thickness in microns. Detailers take readings on undamaged sections of the panel, then measure right beside the scratch. This audit reveals whether the panel has been previously compounded or repainted.
If clear coat readings are below 30 microns, wet sanding is unsafe. In those thin areas, detailers rely on gentle hand polishing or advise the client that the scratch should remain as honest patina rather than risking clear coat burn-through.
Taking multiple measurements around body lines is especially crucial.Factory paint is naturally thinner near panel edges, door corners. Also, raised swage lines where robot spray arms deposit less paint during assembly.
Logging these micron values creates an objective audit trail. It protects both the detailer and the customer by documenting the physical state of the paint before any mechanical grits touch the vehicle.
Precision Wet Sanding Protocols for Clear Coat Scratches
When a scratch catches a fingernail slightly but does not penetrate primer, wet sanding is the most effective levelling technique. Wet sanding uses ultra-fine gritty paper lubricated with soapy water to shave down sharp scratch edges.
Detailers wrap 2500-grit or 3000-grit wet-and-dry sandpaper around a firm, small sanding block. Sanding with bare fingertips creates uneven pressure ridges. The detailer sands strictly perpendicular to the scratch, using light pressure and continuous water slip lube.
After five to ten gentle strokes, the detailer wipes the area dry with a microfibre cloth. The goal is to level the scratch ridge until it blends into the surrounding clear coat. Once the scratch line vanishes into a uniform satin grey haze, sanding stops immediately.
Using a flexible backing block prevents finger pressure points from gouging valleys into soft clear coats. The detailer works in small 10-centimetre sections, keeping the sanding surface clean by rinsing paper in clean soapy water.
Proper slip lube prevents paper grit from loading up with clear coat dust.Loaded sandpaper causes pigtail scratches. This are deep curled sanding marks that require extensive compounding to remove.
Machine Compounding and Scratch Leveling Passes
After wet sanding, the paint has a dull, matte patch. Machine compounding is required to remove 3000-grit sanding scratches and restore gloss.
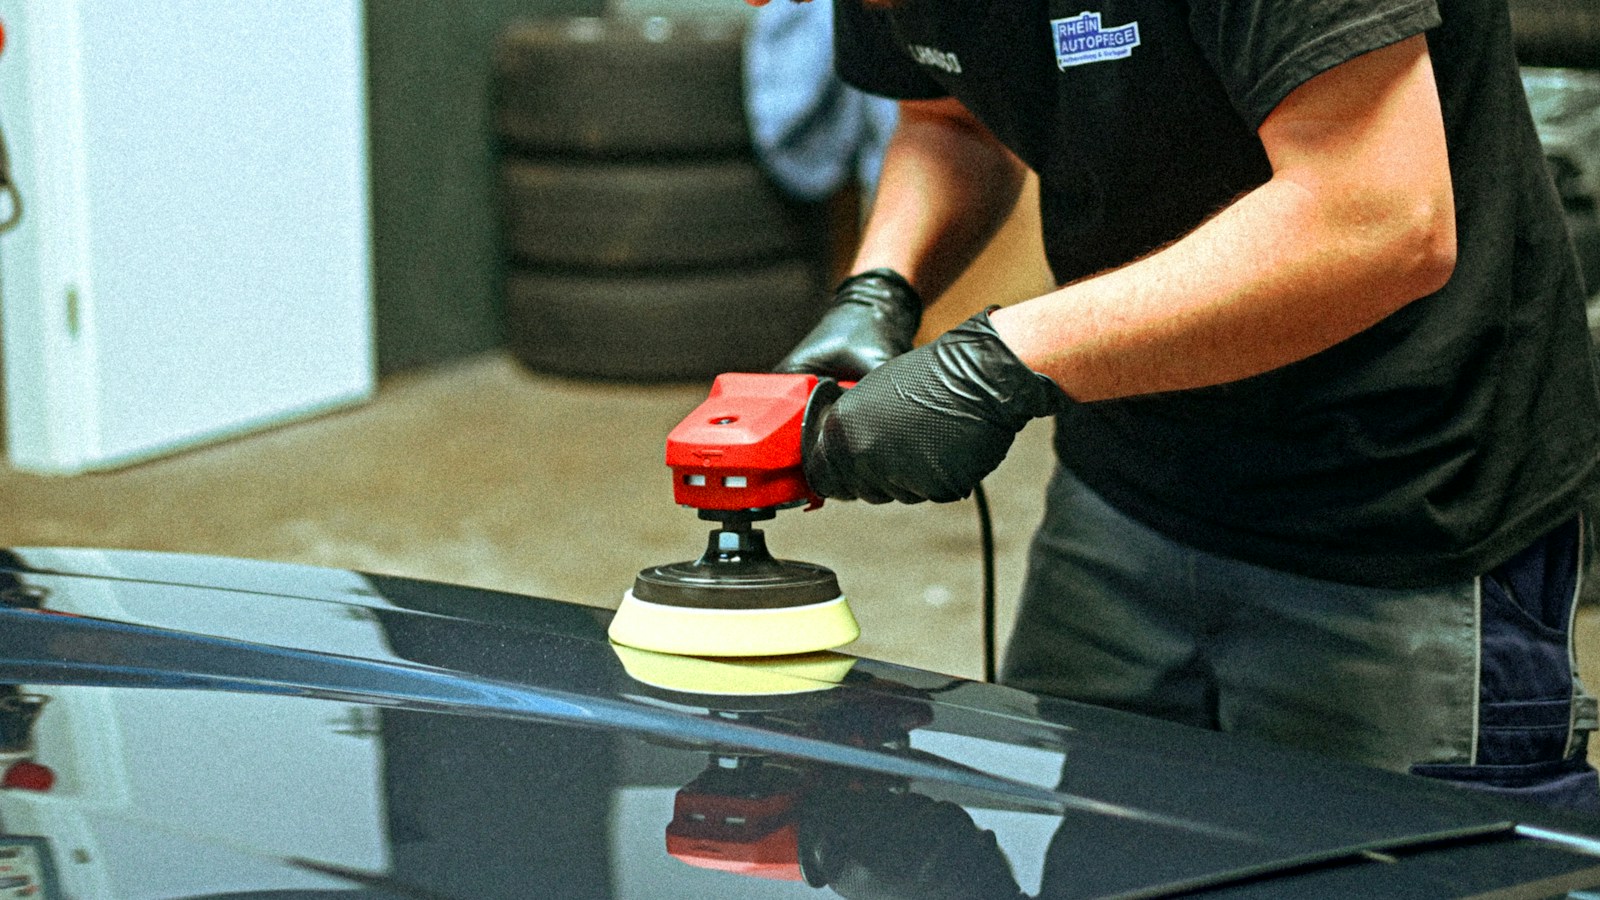
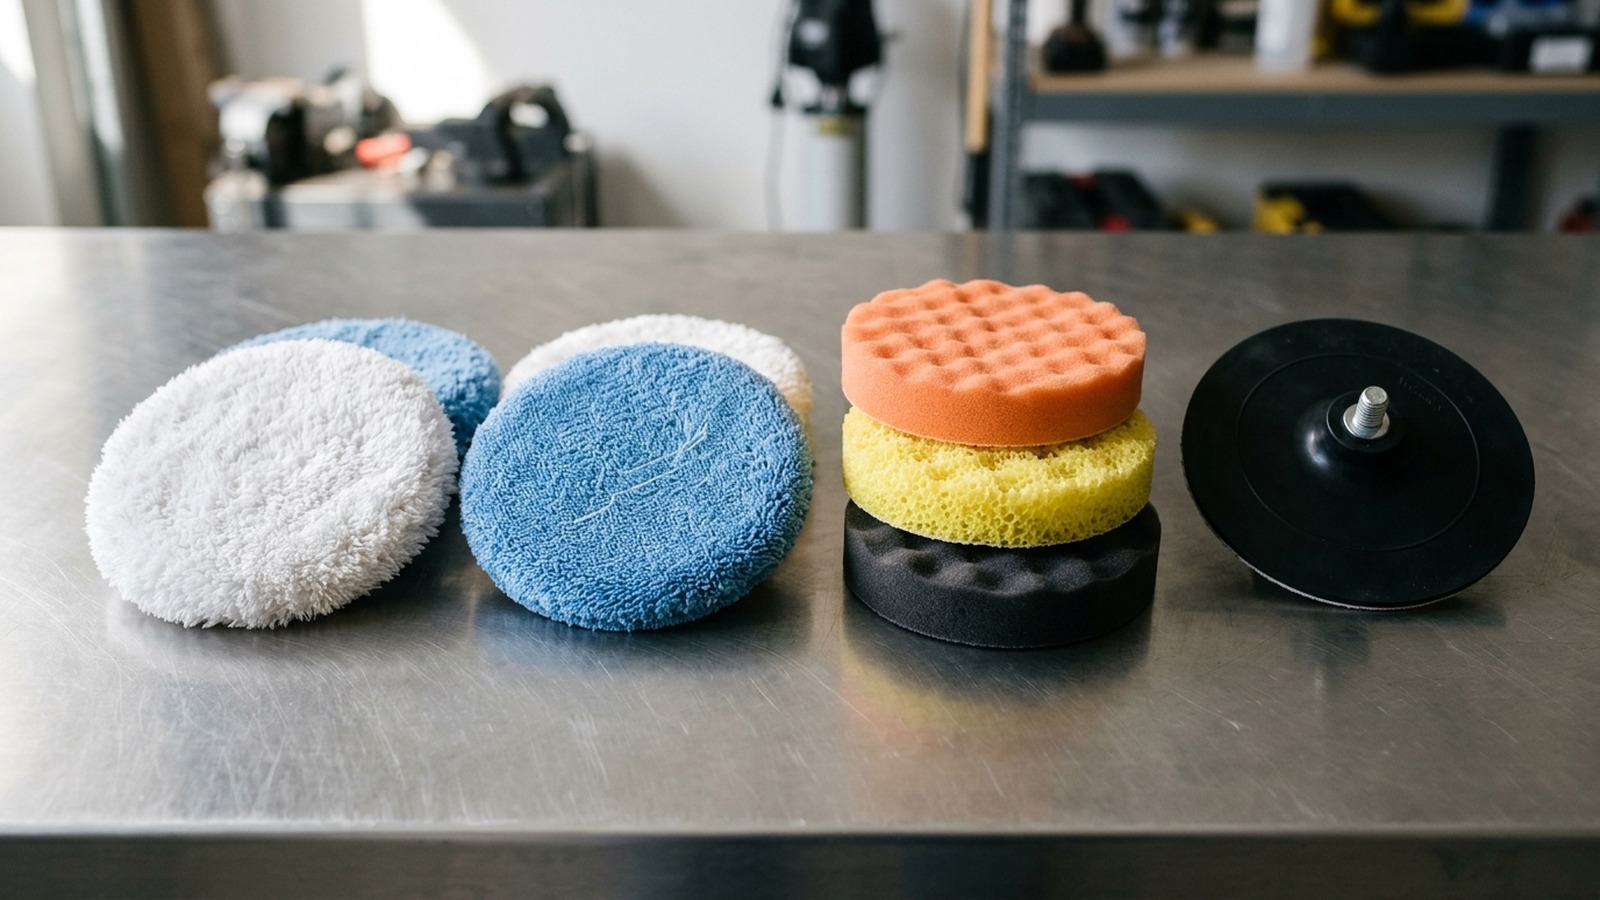
detailers use dual-action orbital polishers paired with firm foam or microfibre cutting pads. A small amount of breaking gritty compound is spread across the sanded patch. The polisher runs at medium speed with light downward pressure.
As the machine works in cross-hatch passes, compound grits cut away sanding scratches. The detailer monitors surface heat with an infrared thermometer to ensure plastic panels do not overheat. The area is then wiped with panel wipe spray to inspect true surface clarity.
Modern breaking micro-grits break down into progressively finer particles as friction and heat increase. This allows heavy initial cutting action that softens gradually into a glossy intermediate finish during a single machine pass.
Cleaning pads regularly with a pad brush or compressed air is essential. Caked compound buildup on pad faces creates excessive heat and introduces fresh scouring marks into warm clear coat.
Fine Polishing and Optical Gloss Restoration
The final mechanical phase is jewel polishing. Compounding removes sanding scratches but leaves tiny compounding haze on dark paint.
Detailers switch to soft foam finishing pads and ultra-fine finishing polishes. These jewel polishes contain sub-micron grits that smooth out tiny compounding trails. The machine glides over the panel at moderate speed with minimal pressure.
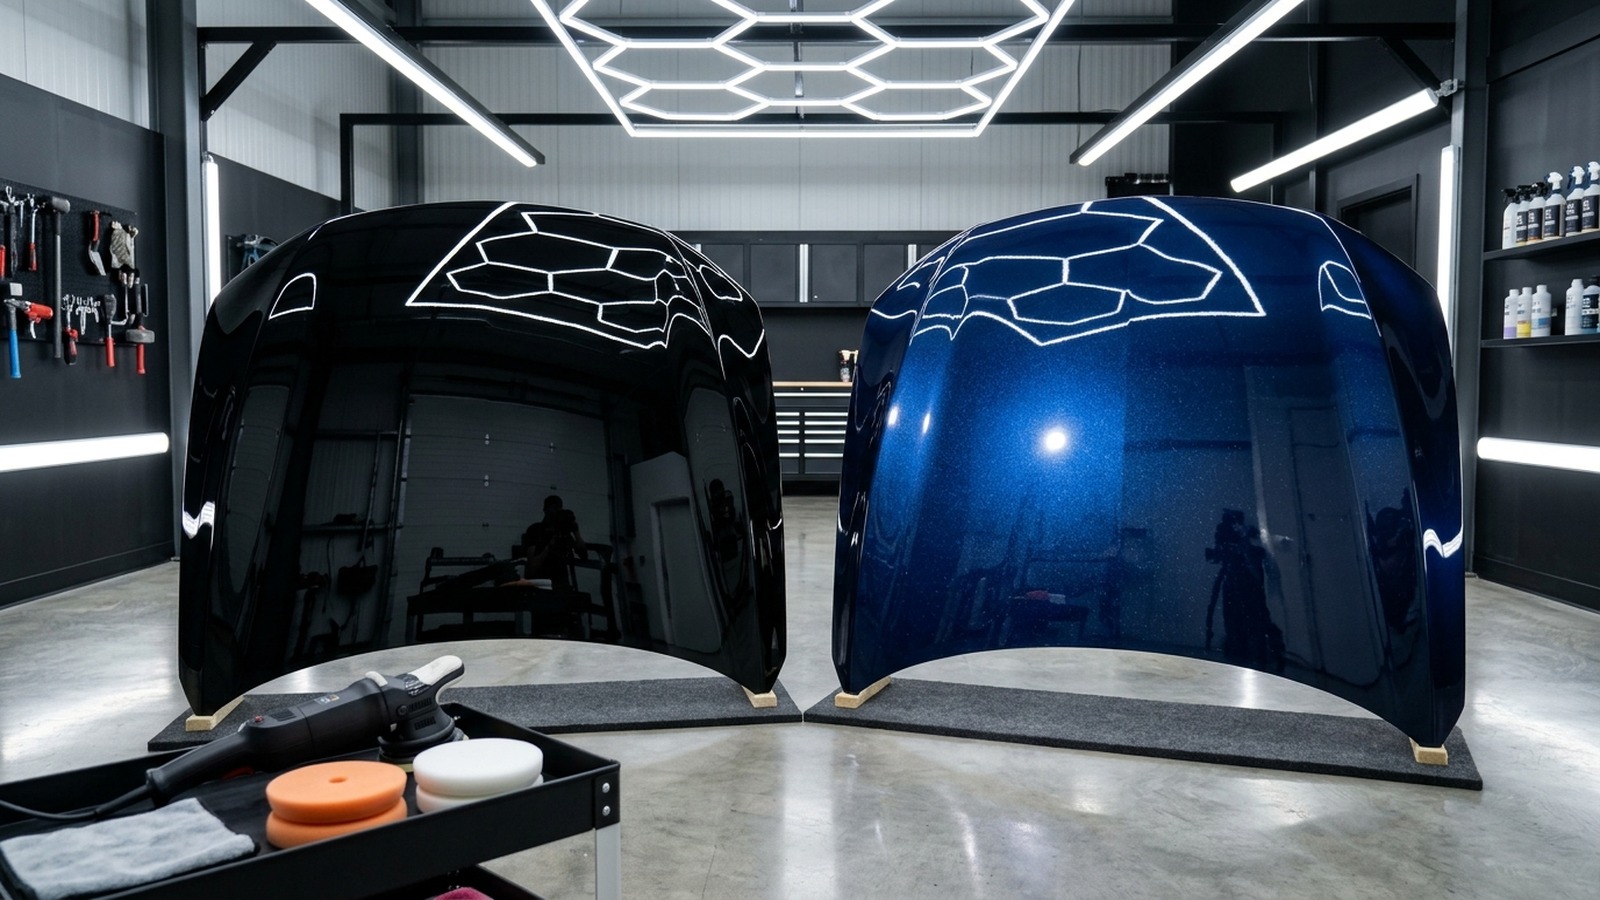
This finishing pass brings back mirror reflections.Metallic flakes sparkle under sunlight, colour saturation deepens. Also, the repaired area blends seamlessly into adjacent panels.
Jewel polishing also smooths the tiny peaks and valleys of the clear coat surface. A smoother surface reflects incident light at uniform angles, producing deep, wet-look gloss that makes colours appear richer.
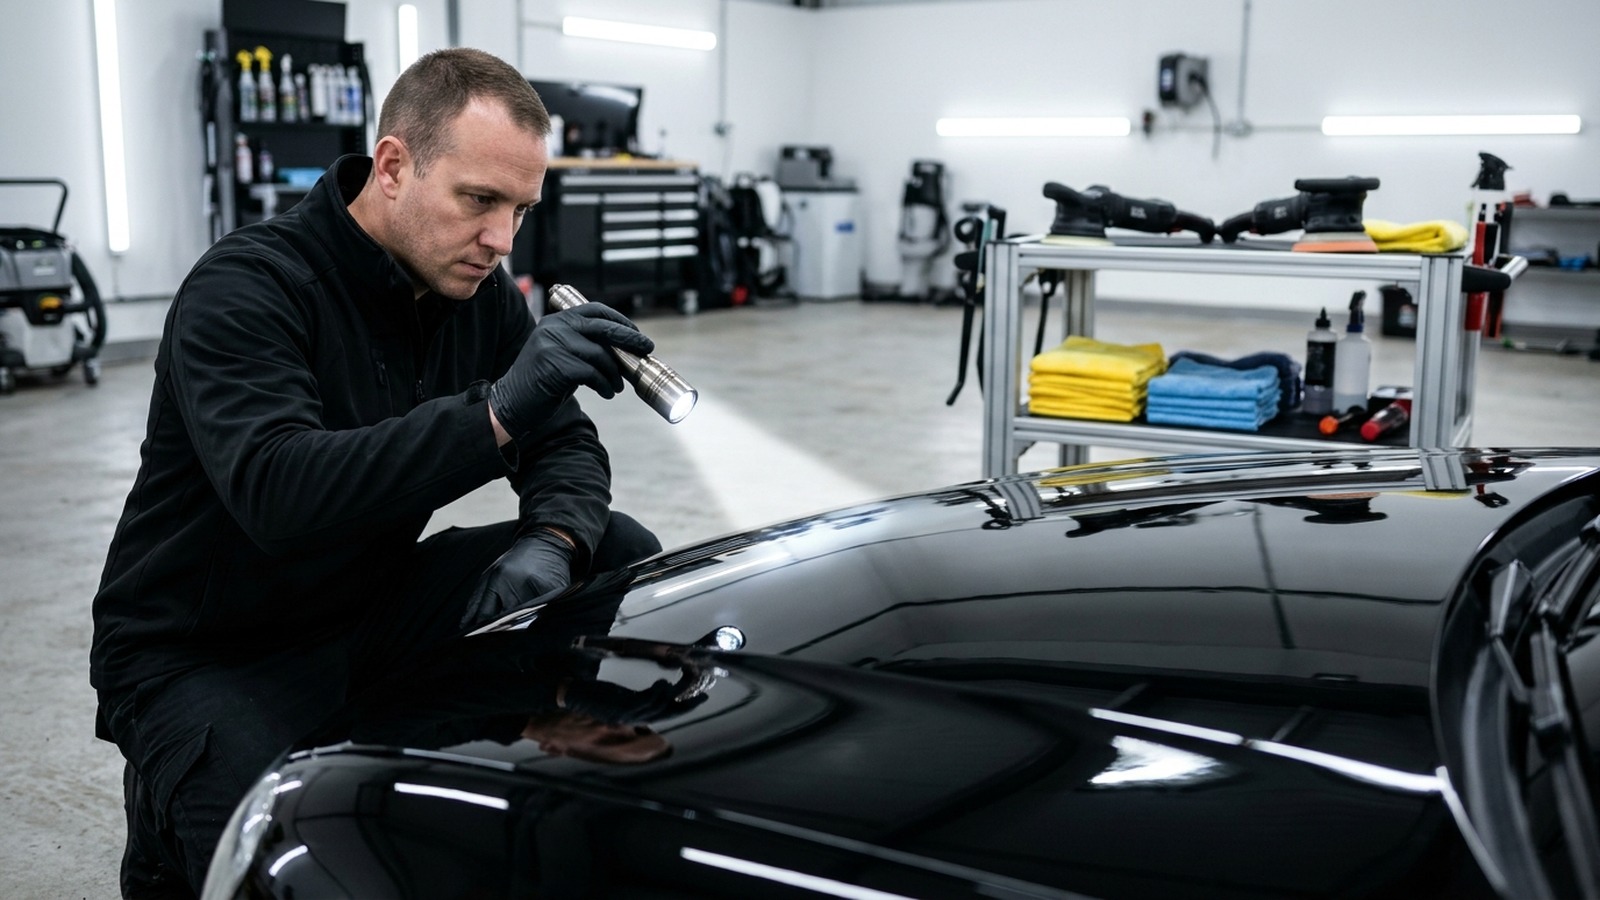
After polishing, detailers wipe down panels with a dedicated alcohol-based panel wipe or solvent inspection spray. This dissolves polishing oils, allowing detailers to verify that scratches are genuinely gone rather than merely concealed by carrier oils.
Machine Selection: Rotary vs Dual Action on Scratches
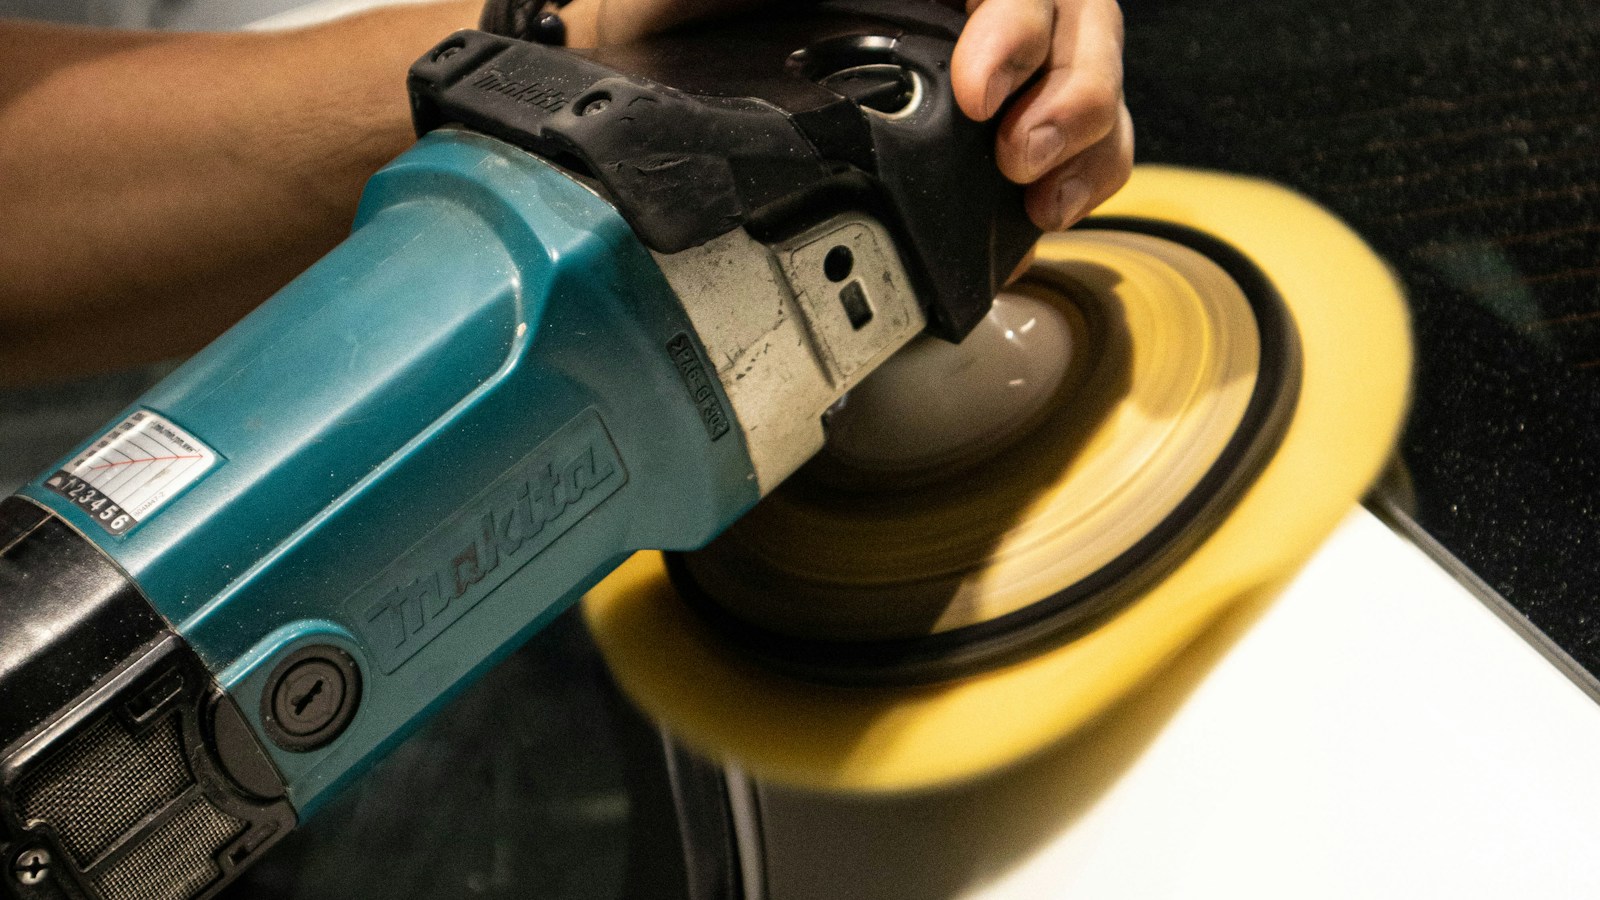
Selecting the right machine polisher determines both speed and safety during scratch levelling. Rotary polishers spin on a single fixed axis, generating rapid heat and high direct friction.
Dual-action orbital polishers spin and oscillate at once, mimicking the motion of a solar system. This dual motion spreads heat evenly across a broader footprint, virtually eliminating the danger of burning through paint edges.
While rotary machines offer unmatched cutting speed on heavy defects, dual-action machines deliver far superior finishing safety. For spot repairs on modern thin clear coats, dual-action polishers with short 8mm or 12mm throws give detailers maximum precision and control.
Dual-action machines also prevent buffer trails and holograms. This are common rotary defects on dark metallic colours. Their random orbital movement ensures grits do not travel in repeating circular paths.
In experienced hands, modern long-throw dual-action machines generate enough cutting force to level 3000-grit sanding marks in two passes, without the high heat risk associated with direct-drive rotary polishers.
Pad and gritty Pairings for Safe Defect Removal
Matching the gritty pad to the compound chemistry is the secret to controlled defect levelling. Using too aggressive a combination strips unnecessary clear coat, while an under-powered combination wastes labour.
Microfibre cutting pads offer high cutting density because millions of individual fibres hold compound grits flat against the paint surface. They excel at levelling wet-sanding marks quickly on hard German clear coats.
Medium-density open-cell foam pads provide balanced cutting and cooling airflow. They compress gently over body contours, ensuring consistent pad contact without scouring soft curved surfaces.
Soft closed-cell finishing foam pads generate zero mechanical cut on their own. They serve exclusively as gentle cushions to carry ultra-fine finishing polishes across the clear coat for crystal clarity.
Detailers always conduct a small test spot on an inconspicuous panel section first. Testing the least aggressive combination confirms whether fine polishing alone can remove the defect before reaching for heavier grits.
Edge and Swage Line Safety During Scratch Leveling
Vehicle panels are not flat planes. they feature sharp styling creases, swage lines, and door edges. The clear coat over these sharp creases is often only 20 microns thick.
Polishing pads exert extra pressure along raised edges. The pad face compresses on both sides of the ridge, concentrating mechanical friction directly on the sharp peak.
To avoid burning through clear coat along creases, detailers apply low-tack blue car masking tape directly over swage lines. They buff within 5 millimetres of the ridge without running the machine directly across the high point.
detailers also reduce machine speeds and switch to smaller 75mm or 50mm backing plates when working near door handles, wing mirrors, and pillar edges. Smaller pads allow surgical precision without catching rubber seals.
Maintaining a flat pad orientation prevents pad stall and eliminates uneven gouging. Allowing the machine polisher to tilt on its edge concentrates the entire motor torque into a small point, causing immediate paint damage.
Scratch Repair Method Comparison: Pen vs Polish vs Wet Sanding
The table below compares three common approaches to fixing car clear coat scratches:
| Repair Factor | Clear Coat Scratch Pen | Hand Scratch Polish | pro Wet-Sand & Machine Correction |
|---|---|---|---|
| Defect Removal Method | Fills groove with clear resin | Rounds off top edges by hand | Shaves clear coat flat to scratch floor |
| Visual Quality | Lumpy resin bead visible in sun | Reduces visibility by 30% to 50% | 100% invisible repair with mirror gloss |
| Clear Coat Removed | 0 microns | 0.5 microns | 1.5 to 3.0 microns (safely measured) |
| Durability | Peels or turns yellow in 3 months | Permanent on shallow marks | Permanent factory-level repair |
| Risk Level | Low (unsightly resin blob) | Very low | Requires skilled gauge monitoring |
| Time Invested | 5 minutes | 15 minutes | 1 to 2 hours of precision work |
The 10-Point Clear Coat Scratch Repair Checklist
pro workshops follow these ten quality checkpoints when levelling paint scratches:
- Surface Wash and Decontamination: Wash the panel thoroughly and remove road tar and iron fallout with clay.
- Fingernail Depth depth test: Test the scratch with a clean fingernail to confirm it does not reach the primer.
- Digital Paint Depth Audit: Take five baseline readings around the scratch and log clear coat thickness in microns.
- Surrounding Panel Masking: Tape off rubber trims and swage lines with car low-tack masking tape.
- Sanding Block Setup: Wrap 3000-grit wet sandpaper around a firm, flat rubber sanding block.
- Lubricated Wet Sanding: Sand perpendicular to the scratch with soapy water until the scratch line flattens out.
- Progress Wipedown Inspection: Dry the area with microfibre towels to confirm the scratch is level with the clear coat.
- Dual-Action Machine Compounding: Buff out 3000-grit sanding marks using firm cutting pads and gritty compound.
- Jewel Polish Refinement: Polish the area with soft foam finishing pads to remove haze and restore mirror gloss.
- shielding Sealant Application: Apply ceramic coating or synthetic sealant over the repaired area to protect the clear coat.
Sealing Repaired Paintwork with Ceramic Protection
After levelling a scratch, the clear coat in that spot is slightly thinner than factory depth. Applying durable protection over the repaired panel is critical to preserve long-term weather resistance.
Car owners can choose between synthetic polymer sealants and ceramic coatings. Ceramic coatings form a hard chemical bond with clear coat pores, adding a durable quartz barrier that resists fine wash swirls, bird droppings, and UV radiation. In Armidale, where high sun exposure speeds up paint fading, ceramic coating protects repaired areas for years.
A ceramic layer also increases surface water beading. Water beads aggressively and rolls off panels, taking loose road dirt and regional basalt dust with it. This self-cleaning effect reduces the frequency of mechanical washing, protecting thin paint from future wash scratches.
For vehicles stored outdoors under direct sunlight, applying ceramic coating prevents the exposed lower clear coat layers from oxidising. It restores peace of mind by locking in the deep, gloss-corrected finish for years of daily driving.
Regular maintenance washes using pH-neutral car shampoos and ceramic booster sprays will maintain the slick water-shedding barrier, ensuring that repaired panels remain free of water marks and surface staining.
Workplace Safety and Environmental Workshop Rules
Paint correction involves high-speed machinery, friction heat, and compound dust. pro workshops adhere to strict standards set by Safe Work Australia.Detailers wear shielding eye goggles, particulate dust masks. Also, hearing protection during machine buffing.
Environmental care is just as vital. Under rules overseen by the NSW Environment Protection Authority, wash water containing petroleum residues and gritty dust must pass through approved oil-water separators rather than running into street stormwater drains.
Consumer standards are regulated under rules from the Australian Competition and Consumer Commission. Detailers must provide transparent advice on scratch depth limits, ensuring vehicle owners receive honest warranties and clear expectations.
also, workshops follow proper chemical storage protocols.All panel wipe solvents, ceramic coating bottles. Also, compound chemicals must feature compliant safety data sheets and secure child-proof caps.
If you have unsightly scratches on your car and want them repaired safely without clear coat burn-through, booking expert paint correction and scratch removal in Armidale ensures trained detailers measure your paint and restore mirror-smooth reflections.
People Also Ask About Clear Coat Scratch Repair
Can all clear coat scratches be buffed out?
No. Only scratches that remain in the upper clear coat can be buffed out. Scratches that penetrate into the colour base coat or white primer layer require touch-up paint or full panel respraying.
Does wet sanding damage clear coat?
When done by a skilled pro with a paint depth gauge, wet sanding safely removes only one to two microns of clear coat. It levels out scratch ridges without compromising factory UV protection.
How do scratch repair pens compare to machine polishing?
Scratch repair pens fill scratches with temporary clear resin that often dries with uneven lumps and peels away within months. Machine polishing permanently levels the clear coat for an invisible repair.
How much clear coat is removed during scratch repair?
A typical scratch repair removes between one and three microns of clear coat out of 35 to 50 microns total. This preserves more than 90% of your factory paint, maintaining strong UV protection.
Frequently Asked Questions on Scratch Removal
What is the fingernail test for car scratches?
Glide your fingernail across the scratch. If your nail catches in the groove, the scratch has cut through the clear coat and cannot be polished out without touch-up paint. If it glides smoothly, it can be buffed flat.
Can I repair clear coat scratches by hand without a machine?
Shallow scuffs and clear coat transfers can be improved by hand using a microfibre applicator and scratch compound. However, deep scratches require the consistent speed and heat of a dual-action polisher.
Can clear coat scratch repair fix key scratches down to metal?
No. Key scratches that reveal metal or primer require colour-matched touch-up paint and clear coat filling before fine wet sanding can smooth the repair flat.
How do I prevent new scratches after repairing paint?
Wash your car with the two-bucket method using grit guards and plush microfibre mitts.Never wipe dusty paint with dry towels, avoid automated car wash brushes. Also, protect paint with ceramic coatings.
Can clear coat scratch repair be done on plastic bumpers?
Yes, but detailers take extra care. Plastic bumpers retain heat longer than steel panels. Detailers use lower machine speeds and monitor panel heat carefully to avoid burning the paint.
Conclusion: Restoring Flawless Clear Coat Reflections
Surface scratches can make an otherwise immaculate vehicle look tired and neglected. But with the right depth test steps and disciplined polishing techniques, most clear coat scratches can be repaired completely.
Investing in pro clear coat scratch repair permanently levels out surface flaws, restoring deep colour clarity and mirror reflections. By respecting clear coat limits and protecting the finish with ceramic coatings, vehicle owners preserve both beauty and long-term resale value.Treat your car with care, inspect defects honestly. Also, enjoy flawless paintwork every time you drive.