When an automobile clear coat suffers from deep wash swirls, random scratches, severe oxidation, and acid etching, a standard single polish pass is rarely enough to restore true optical clarity. In these demanding situations, investing in professional two-stage paint correction provides the disciplined mechanical solution needed to level surface defects and revive deep gloss. Rather than simply filling imperfections with temporary silicone glazes that wash away within weeks, this multi-step machining process permanently removes damaged clear coat. Across regional areas like Armidale and the New England Tablelands, intense solar ultraviolet exposure, unsealed gravel dust, and harsh agricultural grime accelerate paint degradation, making methodical correction an essential service for car owners who demand pristine vehicle aesthetics.
Two-stage paint correction is an intensive automotive surface restoration process that uses a heavy compound cutting stage followed by a fine finishing polish. By first levelling deep swirl marks and scratches before refining micro-marring, this dual-step technique safely restores over eighty percent of paint clarity without compromising structural clear coat thickness.
- Understanding Two-Stage Machine Correction Mechanics
- Paint Depth Gauge Diagnostics and Safety Margins
- Regional Paint Hazards Across Armidale and Regional NSW
- Clear Coat Defect Boundaries: Correction vs Respraying
- Dual-Action vs Rotary Machine Polisher Dynamics
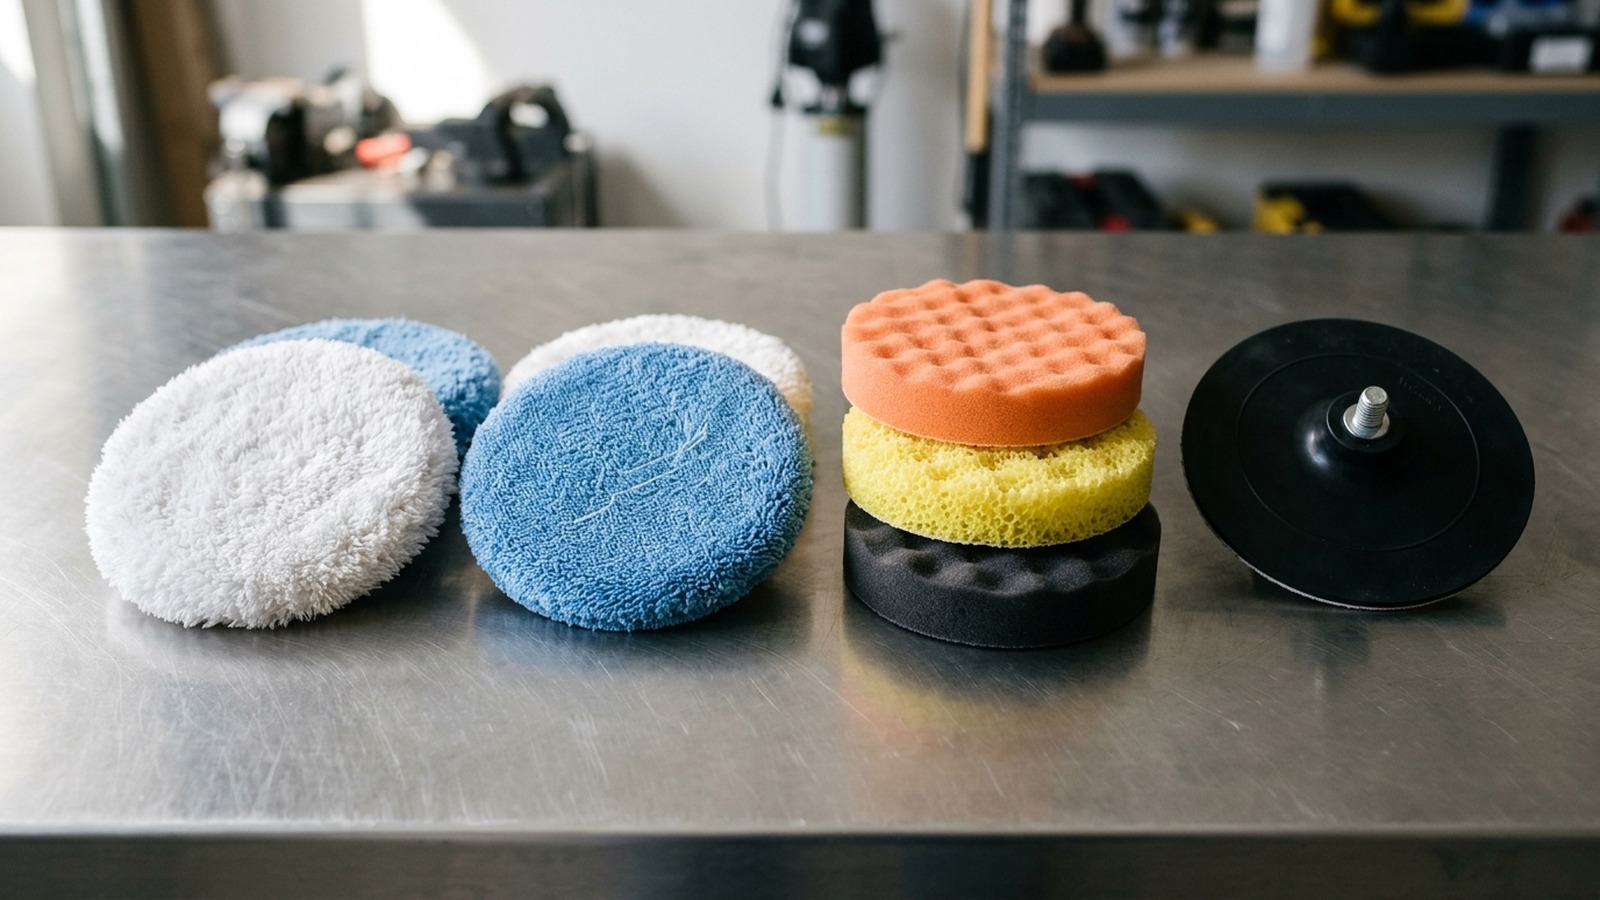
- Stage One: Heavy Compound Cutting and Pad Selection
- Stage Two: Micro-Polishing and Jewel Finishing
- Abrasive Chemistry: Diminishing vs Non-Diminishing Micro-Abrasives
- Paint Restoration Comparison: Glaze vs One-Stage vs Two-Stage Correction
- The 10-Point Paint Correction Workshop Checklist
- Sealing and Protecting Corrected Paintwork in Australia
- Workplace Health and Chemical Safety Standards
- People Also Ask About Two-Stage Paint Correction
- Frequently Asked Questions on Paint Correction
- Conclusion: Reviving Optical Perfection with Precision Correction
Understanding Two-Stage Paint Correction Mechanics
Modern factory car paint consists of several thin layers over metal panels. These layers include primer, coloured base coat, and an outer clear coat. The clear coat protects the colour and provides high gloss. On most cars, this clear coat is between 35 and 50 microns thick. That is thinner than a typical post-it note.
Every bad car wash, dirty sponge, or automatic brush wash creates fine scratches. In bright sunlight, these scratches scatter light and look like spider webs. We call these swirl marks. A basic single-step polish uses a medium compound. It clears light haze, but it cannot remove deeper scratches. If a detailer uses aggressive cutting in one step, it leaves micro-marring behind.
This is why workshops use a two-step method. In two-stage machine correction, the detailer splits the work into two dedicated steps. The first step uses heavy cutting pads and abrasive compound to level out deep scratches. The second step uses ultra-fine finishing polish to remove haze and boost gloss. This leaves the paint smooth and crystal clear.
Paint Depth Gauge Diagnostics and Safety Margins
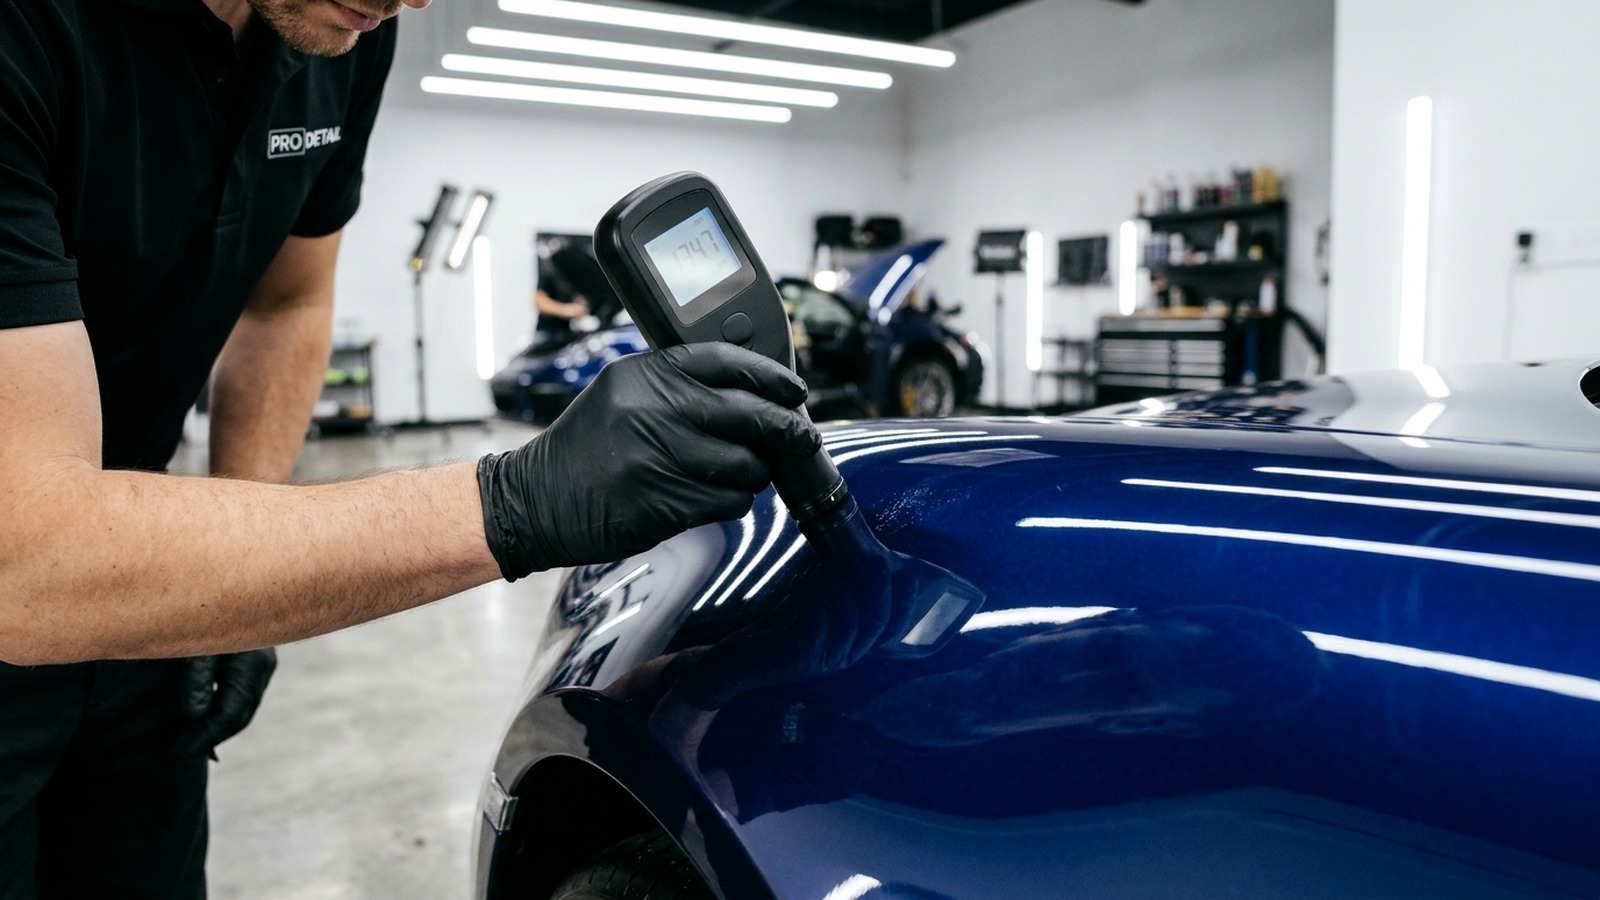
Machine polishing removes a microscopic amount of clear coat. Polishing without measuring paint thickness first is risky. Qualified technicians always inspect panels with an ultrasonic paint depth gauge. This tool measures paint thickness in microns across every section of the car.
A paint gauge reveals repainted panels, previous heavy compounding, and thin factory edges. European vehicles often have harder clear coats measuring 40 to 55 microns. In contrast, many Japanese cars have softer clear coats measuring only 28 to 35 microns. Panel edges and sharp body lines are naturally thinner due to factory spray patterns.
A safe multi-stage correction removes between two and four microns of clear coat. This controlled cut clears 80% to 90% of defects. It also preserves over 90% of your factory clear coat. Keeping this protective clear coat is vital under the strong Australian sun. If too much clear coat is removed, the paint will oxidise and peel over time.
Regional Paint Hazards Across Armidale and Regional NSW
Cars driven around Armidale and the New England Tablelands face harsh weather. Armidale sits around 1,000 metres above sea level. This high altitude brings higher levels of solar UV radiation. Unprotected clear coat oxidises quickly under high UV rays, turning cloudy and dull.
Country driving also covers cars in fine basalt and granite road dust. This sharp dust settles across panels daily. When owners wipe dusty panels with dry cloths, the sharp grit gouges the clear coat. In winter, hard overnight frosts freeze moisture inside tiny stone chips and fine scratches. Repeated freezing expands these cracks and weakens the clear coat.
Farming regions also present organic hazards. Cattle truck spray, eucalyptus tree sap, and highway bug splatter etch into hot panels. When left in the sun, these organic acids burn into the paint within two days. Washing with a garden hose will not remove them. Removing these etch marks requires precision machine compounding.
Clear Coat Defect Boundaries: Correction vs Respraying
Before booking paint correction, car owners need to know what polishing can and cannot fix. Clear coat is thin and finite. Polishing cannot add paint back to a car.
Machine polishing successfully eliminates: 1. Swirl marks from automatic car washes and hand sponges. 2. Light and medium scratches that do not catch your fingernail. 3. Dull surface oxidation and faded grey clear coat. 4. Water spots and shallow bird dropping marks. 5. Buffer trails and holograms left by poor rotary work.
However, machine polishing cannot repair: 1. Deep scratches that cut through the clear coat into white primer. 2. Stone chips from highway gravel that expose bare metal. 3. Peeling or flaking clear coat failure. 4. Rust bubbling under the steel panels. If your fingernail catches inside a scratch, polishing cannot remove it safely. Those deep defects need colour touch-up paint or full panel respraying at a body shop.
Dual-Action vs Rotary Machine Polisher Dynamics
Professional detailers choose between two main types of polishing machines: rotary polishers and dual-action orbital polishers. Each machine operates on distinct mechanical principles that affect safety and defect removal.
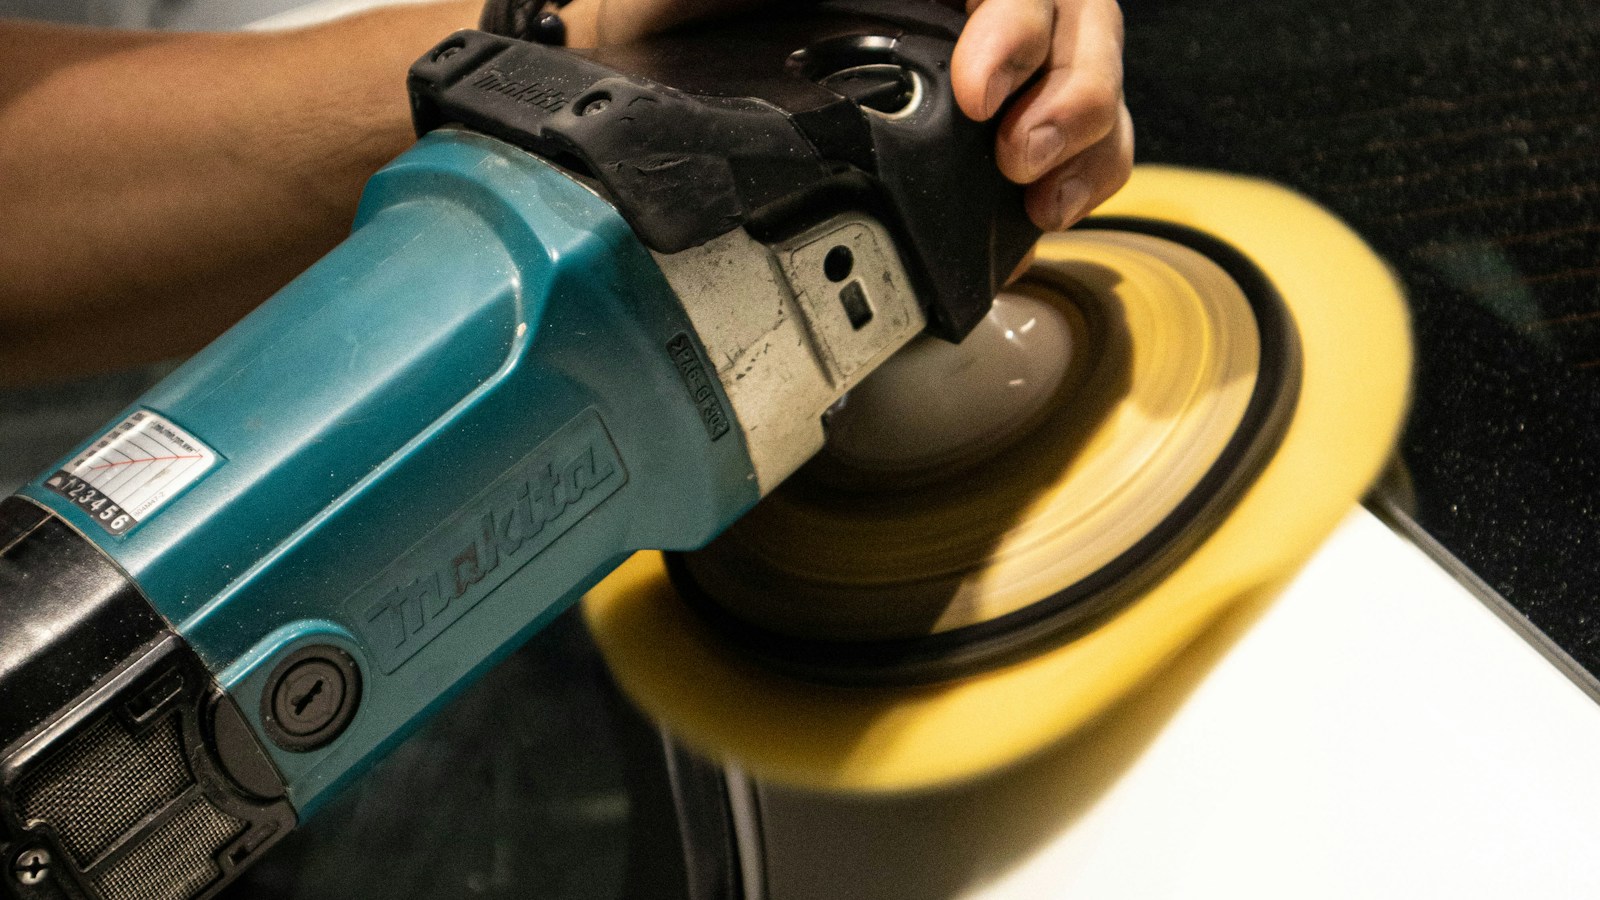
A rotary machine drives the polishing pad on a single direct axis. Because the pad spins directly on the drive spindle, it generates substantial friction heat and high cutting power. Rotary polishers excel at quickly cutting heavy sand scratches and severe defects on hard clear coats. However, they carry a high risk of burning through thin panel edges or creating holograms if handled without extreme precision.
In contrast, dual-action orbital polishers combine two movements: the pad spins on a central spindle while simultaneously oscillating in an eccentric orbit. This random orbital movement dissipates surface friction heat over a broader area. As a result, dual-action polishers drastically lower the risk of burning clear coat while delivering a hologram-free finish. For modern clear coats, high-throw dual-action machines provide the perfect balance of cutting muscle and finishing safety.
Stage One: Heavy Compound Cutting and Pad Selection
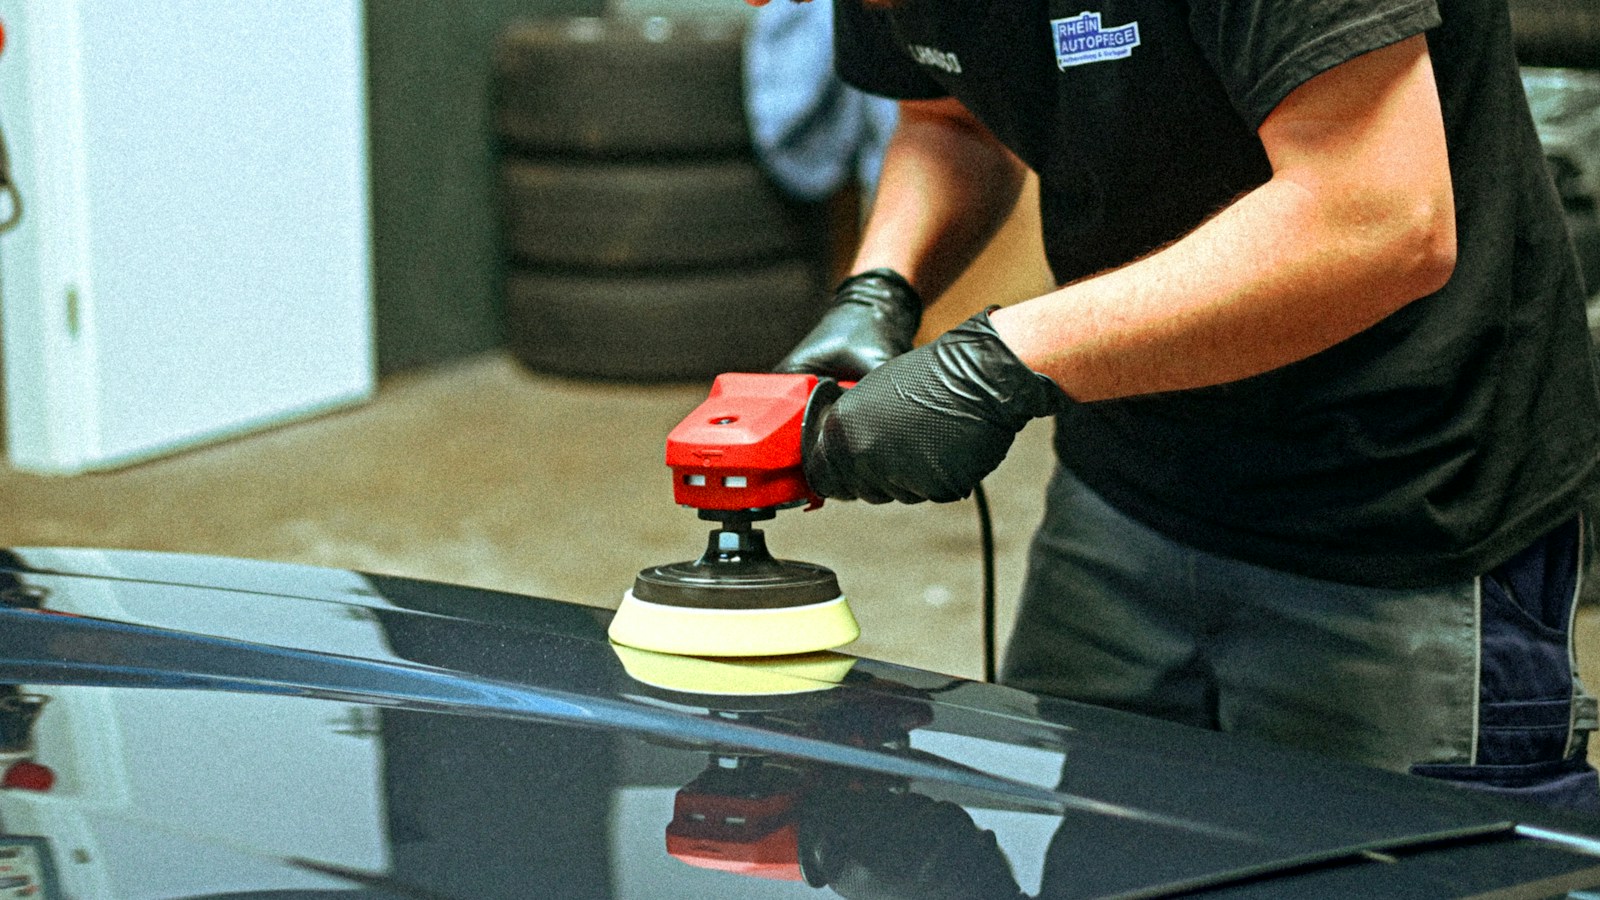
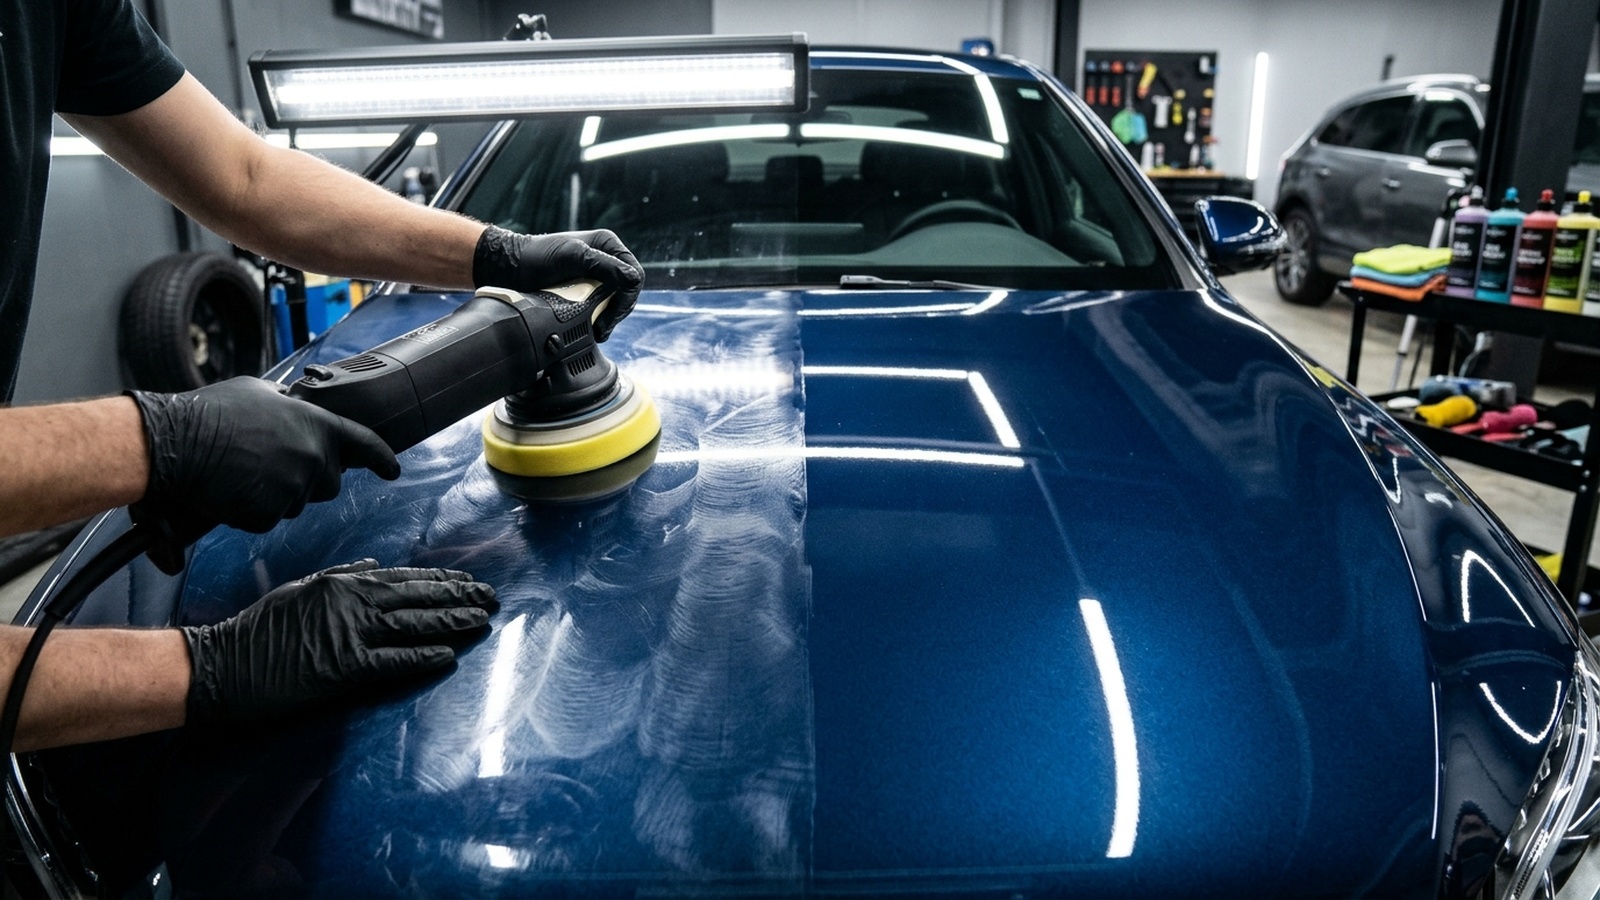
The first phase of two-stage machine correction is the cutting step. The goal here is defect removal. Detailers use high-torque dual-action polishers with firm cutting pads and abrasive cutting compounds.
Pad choice depends on paint hardness. German cars like Audi and BMW use hard clear coats that need microfibre or wool pads. Asian cars often have softer clear coats that work best with dense foam pads. Detailers always test a small 40 cm area first. This test spot helps find the safest pad and compound mix for that specific paint.
During the cutting pass, abrasives break down under machine heat from coarse particles to fine grains. The technician works in small sections with slow, overlapping passes. Surface heat is checked often so plastic bumpers do not overheat. After compounding, panels are wiped down with alcohol spray to remove oils and inspect true defect removal.
Stage Two: Micro-Polishing and Jewel Finishing
While cutting removes deep marks, it often leaves a light haze on dark paint. The second phase of two-step paint correction refines this haze and unlocks deep gloss.
In this finishing step, the technician switches to a soft foam finishing pad and jewel polish. These polishes contain tiny sub-micron abrasives. They smooth away compounding haze without removing measurable clear coat. The machine runs at medium speed with light pressure, gliding smoothly across the panel.
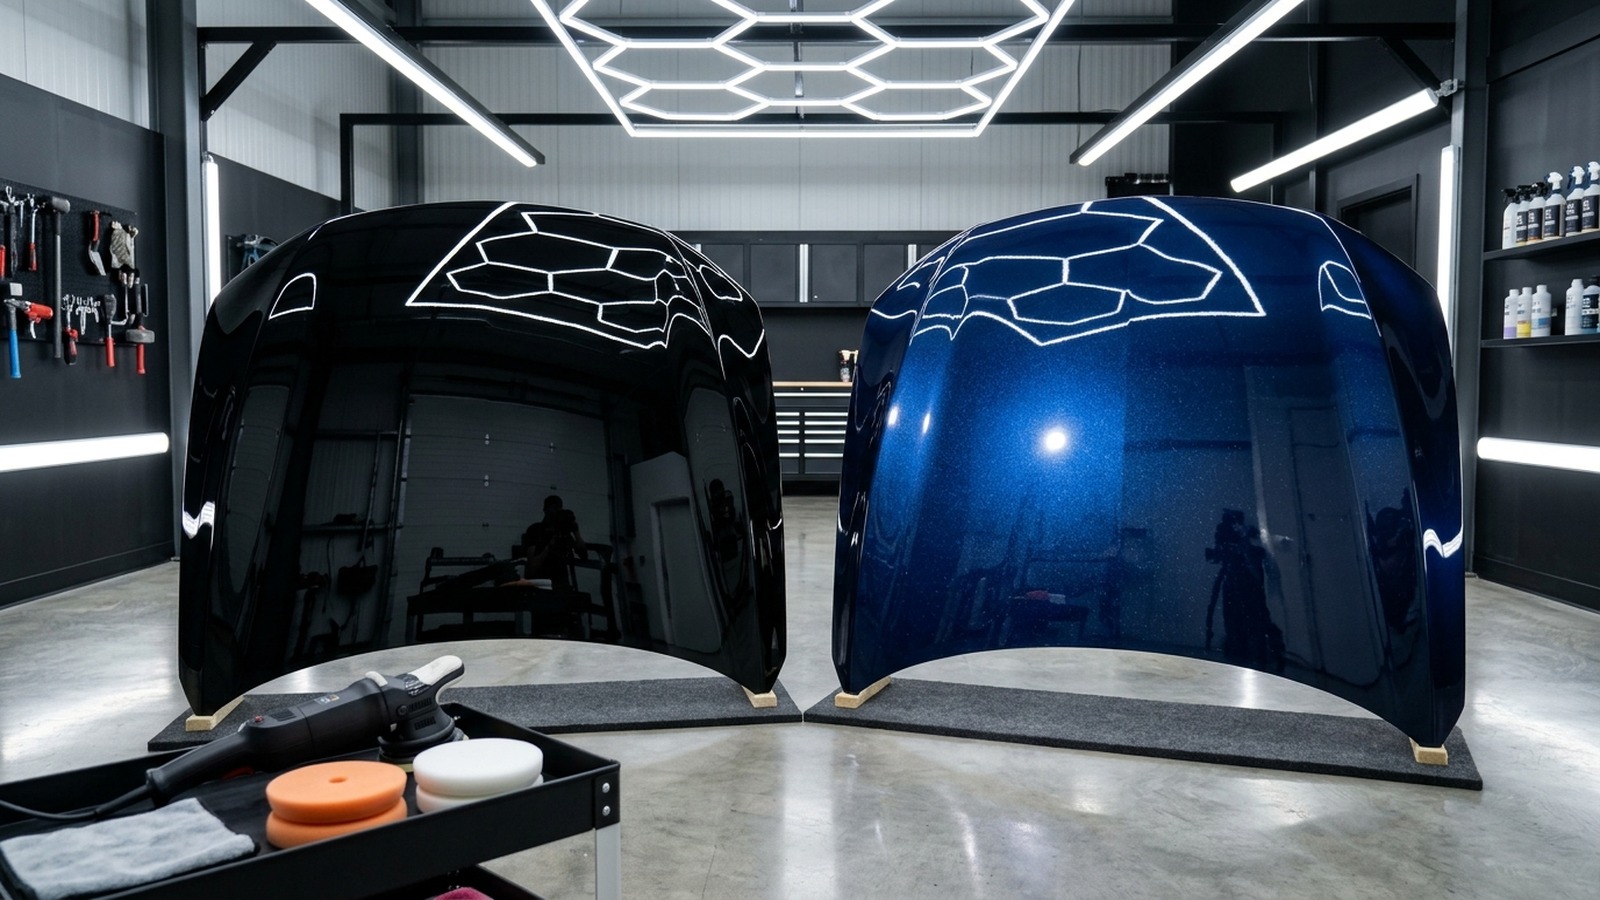
This jewel stage levels the microscopic surface until it is flat. Light bounces off the panel in straight lines instead of scattering. Metallic flakes sparkle under sunlight, colours look richer, and black paint achieves a deep wet-look finish.
Abrasive Chemistry: Diminishing vs Non-Diminishing Micro-Abrasives
The chemical composition of modern polishing compounds plays a vital role in surface restoration. Detailers select compounds based on whether their abrasive grains are diminishing or non-diminishing.
Diminishing abrasive technology relies on aluminium oxide granules that break down under working pressure and heat. As the machine works across the paint, coarse granules fracture into progressively smaller particles. This allows the product to start with aggressive cutting and finish with fine polishing in a single cycle. However, the technician must work the product for its full cycle to avoid leaving coarse grit marks.
Non-diminishing abrasive technology, often called sub-micron precision abrasives, uses microscopic particles that do not break down. Instead, millions of microscopic, uniform abrasives shave away clear coat evenly. This modern chemistry gives detailers total control over working time and reduces polishing dust, making wipe-downs faster and cleaner.
Paint Restoration Comparison: Glaze vs One-Stage vs Two-Stage Correction
This table compares common paint rejuvenation treatments available for Australian drivers:
| Comparison Feature | Hand Glaze & Wax | Single-Stage Polish | Two-Stage Paint Correction |
|---|---|---|---|
| Defect Removal Method | Oils fill in scratches temporarily | Medium abrasive machine pass | Compound cut plus micro-finishing polish |
| Swirl Removal Rate | 0% removed (hides 20% briefly) | 50% to 65% defect removal | 80% to 90%+ permanent defect removal |
| Clear Coat Removed | 0 microns | 0.5 to 1.5 microns | 2.0 to 3.5 microns |
| Labor Time Required | 1 to 2 hours | 3 to 5 hours | 8 to 15+ hours |
| Result Longevity | Washes away in 3 to 4 weeks | Permanent defect clearance | Permanent defect clearance |
| Ideal Use Case | Quick budget shine for car meets | Daily drivers with minor wash haze | Enthusiast vehicles, dark paint, and coating prep |
The 10-Point Paint Correction Workshop Checklist
Professional detailers follow these ten steps during a complete machine correction service:
- Chemical Iron Fallout Rinse: Spray pH-neutral iron remover across paint to dissolve baked brake dust and rail fallout.
- Clay Bar Decontamination: Glide detailing clay with lubricant across all panels to lift tree sap, road tar, and rough fallout.
- Complete Drying: Dry panels with warm air blowers and microfibre towels so water does not dilute polishing compounds.
- Paint Depth Audit: Measure clear coat thickness with an ultrasonic gauge on every panel and record baseline readings.
- Trim Masking: Protect black plastic trim, rubber window seals, and washer nozzles with automotive masking tape.
- Test Spot Tuning: Compound a test section to confirm the best pad and polish combination before working on the whole car.
- Stage One Cutting Pass: Buff panels with cutting compound and firm pads using slow cross-hatch passes to remove deep swirls.
- Alcohol Panel Wipe: Clean off compound oils with panel prep spray to inspect real defect removal under bright light.
- Stage Two Jewel Finishing: Polish panels with soft foam pads and jewel polish to clear micro-haze and maximize gloss.
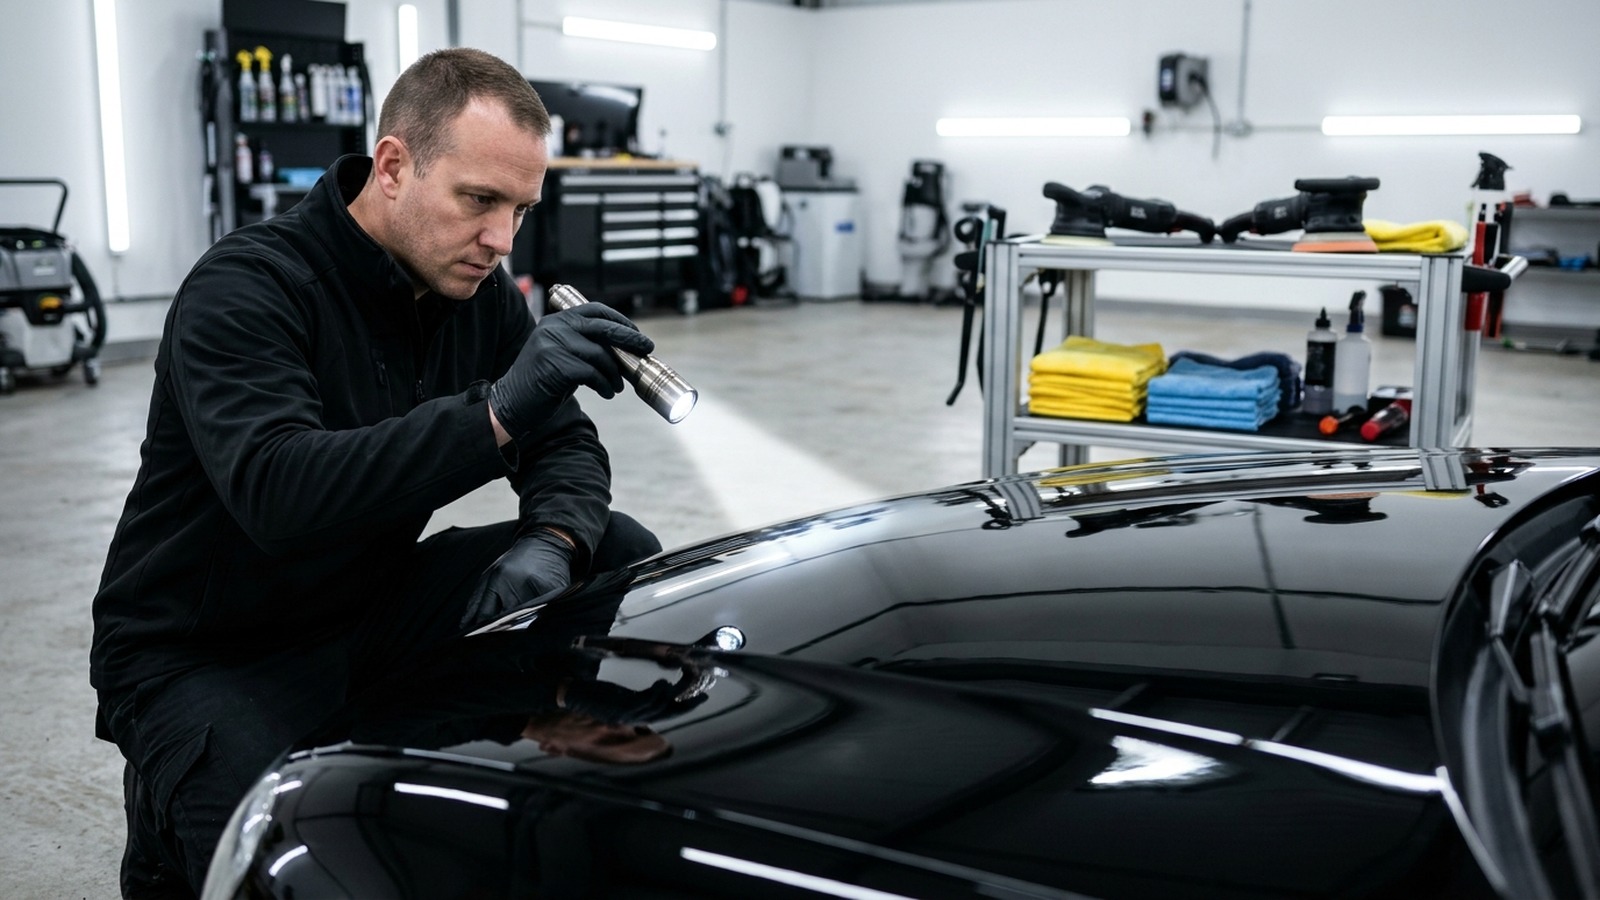
- Final Lighting Inspection: Check panels with a high-CRI detailing torch to ensure zero buffer trails or holograms remain.
Sealing and Protecting Corrected Paintwork in Australia
Finishing a correction job without sealing the paint leaves bare clear coat exposed to sun and dirt. Corrected paint has open microscopic pores, making it the ideal base for protective coatings.
Vehicle owners can choose from three main protection options: 1. Synthetic Polymer Sealants: Deliver four to six months of gloss and water beading. 2. Ceramic Coatings: Chemically bond to clear coat pores, offering two to five years of high gloss, chemical resistance, and UV filtering. 3. Paint Protection Film: Thick clear urethane film that protects the front bumper and bonnet from high-speed stone chips.
For most drivers in regional New South Wales, applying ceramic coating right after correction offers the best protection. The coating prevents bug splatter etching, resists red dust, and makes weekly washing fast and simple.
Workplace Health and Chemical Safety Standards
Paint correction involves high-speed buffers, friction heat, and compound dust. Professional workshops follow strict safety guidelines to protect staff and cars. Under rules from Safe Work Australia, detailers use protective goggles, dust masks, and hearing protection during machine buffing.
Environmental care is just as important. Under regulations from the NSW Environment Protection Authority, wash water containing oil, brake dust, and soap must never enter city stormwater drains. Professional detailing bays use oil-water separators to filter runoff water before it leaves the workshop.
When selling or repairing cars, consumer rules also apply. The Australian Competition and Consumer Commission enforces fair advertising and accurate service claims. Providing honest advice on paint depth limits and scratch removal builds trust with car owners.
If you want to clear swirl marks and restore factory gloss safely without risk, booking expert paint correction services in Armidale ensures trained technicians inspect your paint and deliver show-quality results.
People Also Ask About Two-Stage Paint Correction
How long does a two-stage machine correction take on a typical car?
A full two-stage machine correction service takes between 8 and 16 hours of careful work depending on vehicle size and scratch depth. Large four-wheel drives or vehicles with hard clear coat can require two full days of machine polishing.
Does two-stage paint restoration remove all scratches from car paint?
No. Two-stage correction removes 80% to 90% of clear coat swirl marks, light scratches, and oxidation. However, deep scratches that cut through to the white primer or bare steel cannot be buffed out and require touch-up paint or respraying.
Will two-stage clear coat correction thin my paint too much?
When done by a skilled detailer with a paint depth gauge, it removes only two to four microns of clear coat out of 35 to 50 microns total. This preserves more than 90% of your factory paint, keeping strong UV protection intact.
How often can a vehicle undergo two-stage machine polishing?
Because it removes a small amount of clear coat, this treatment should only be done once or twice during a vehicle's life. After correction, protect the paint with ceramic coating and use safe two-bucket washing to keep swirls away.
Frequently Asked Questions on Paint Correction
What is the main difference between cutting and finishing stages?
The cutting stage uses heavy compound and firm pads to level out scratches and clear coat ridges. The finishing stage uses fine polish and soft pads to clear compounding haze and produce deep mirror gloss.
Can two-stage paint correction fix stone chips on the bonnet?
No. Stone chips punch through all paint layers to bare metal or plastic. Polishing cannot fill chips. Stone chips need colour touch-up paint and fine wet sanding before polishing can blend the repair.
Is two-stage paint correction necessary before ceramic coating?
Yes, highly recommended. Ceramic coatings seal the surface like clear glass. If you coat over swirl marks, those scratches get locked under the coating for years.
How do I prevent swirl marks from returning after paint correction?
Wash your car with the two-bucket method using grit guards and plush microfibre mitts. Avoid automatic brush washes, never wipe dusty paint with dry towels, and dry the car with warm air blowers.
Can two-stage paint correction be done on plastic bumpers?
Yes, but detailers take extra care. Plastic bumpers hold heat longer than metal panels. Technicians use lower machine speeds and monitor heat carefully to avoid burning the paint.
Conclusion: Reviving Optical Perfection with Precision Correction
Restoring weathered automotive paintwork requires technical skill and patience. When road film, intense Australian sun, and improper washing dull your car, hand waxes only offer a quick cover-up. Lasting clarity requires mechanical machine correction.
Investing in two-stage paint correction permanently removes years of swirl marks, bringing out rich color and deep metallic flake. By respecting clear coat limits and protecting the finish with ceramic sealants, owners protect both visual appeal and resale value. Give your vehicle the care it needs and enjoy crisp reflections on every drive.